How to Use a Handheld UV LED Curing Lamp for Consistent Results
In manual assembly and field repair, the portability of ultraviolet technology offers a significant advantage for localized bonding. However, moving from a fixed system to manual operation introduces variables that can affect the final integrity of the cure.
This guide examines how to operate a handheld UV LED curing lamp to achieve industrial-grade consistency. By mastering techniques like position control and understanding the relationship between intensity and distance, technicians can eliminate common defects and ensure every bond meets rigorous quality standards.

What Is a Handheld UV LED Curing Lamp and When Should You Use It?
A handheld UV LED curing lamp is a portable ultraviolet light tool designed to deliver controlled UV energy to adhesives and coatings where focused curing is needed. You will find these tools essential in scenarios where the workpiece is too large to fit in a curing chamber or when precise, manual application is required for intricate repairs.
These lamps provide the agility to reach into tight spaces, such as inside an electronic chassis or along the complex curves of an automotive assembly. They are a preferred solution for tacking parts in place before a secondary process or for field-based maintenance where a stationary system is logistically impossible to deploy.
How Should You Prepare Work Surfaces Before Curing?
Preparing work surfaces before using a handheld UV LED curing lamp ensures that adhesives bond well and cure uniformly. You must remove all traces of oil, moisture, and dust from the substrate, as these contaminants can block the UV light or prevent the adhesive from wetting the surface correctly.
Beyond cleaning, you should ensure that the parts are properly aligned and secured. Because handheld curing often involves manual holding, any movement during the initial seconds of UV exposure can lead to internal stresses or misaligned bonds. Stabilizing the workpiece allows the polymerization to occur in a relaxed state, resulting in a much stronger mechanical interface.
How Do You Match UV Wavelength to Adhesive Chemistry?
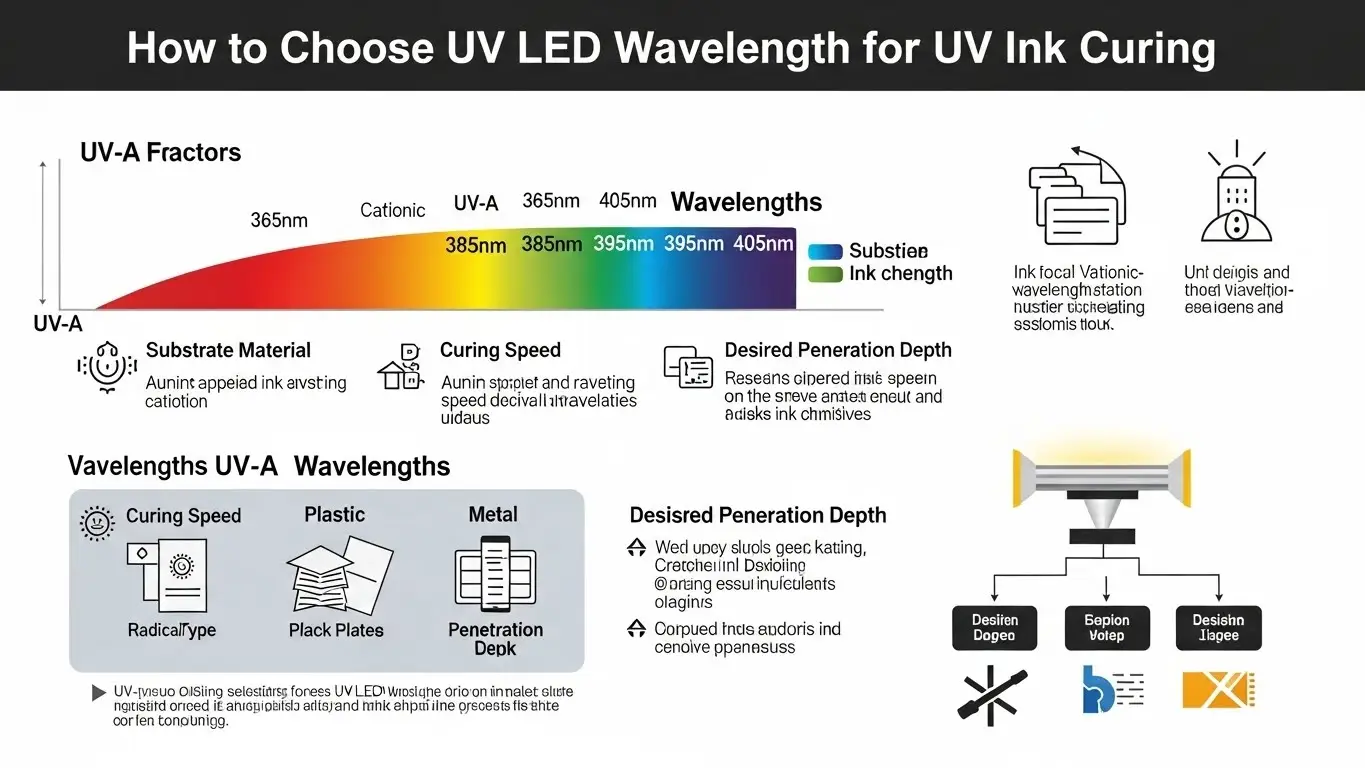
Matching the UV LED lamp’s wavelength to the adhesive’s photoinitiator profile is essential for effective cure. You should verify that the spectral output of your lamp—commonly 365 nm, 385 nm, or 395 nm—aligns perfectly with the requirements found on your adhesive's technical data sheet.
If the lamp emits a wavelength that falls outside the absorption range of the photoinitiators, the chemical reaction will be sluggish or incomplete. This mismatch is a frequent cause of "soft" cures, where the adhesive appears hardened but lacks the required structural strength or chemical resistance for industrial use.
How Long Should You Expose Adhesives to UV Light?
The exposure time with a handheld UV LED curing lamp depends on the adhesive type, intensity of the lamp, and distance to the surface. You will notice that doubling the distance between the lamp and the part can reduce the irradiance by as much as four times, necessitating a much longer dwell time to reach the required energy dose.
Typically, high-intensity handheld units can achieve a full cure in 3 to 10 seconds at a close working distance. However, for pigmented or thick-film adhesives, you may need to extend this time to ensure the ultraviolet photons penetrate through to the bottom of the bond. Always use a timer or a programmed lamp setting to maintain repeatability across different parts.
What Techniques Improve Consistency With a Handheld Lamp?
Consistent results with a handheld UV LED curing lamp come from maintaining steady distance, consistent movement, and controlled exposure. You can achieve better results by adopting a structured handling technique during the curing cycle:
- Maintain Fixed Working Distance: Use a spacer or a steady hand to keep the lamp at a constant height for the entire exposure.
- Keep the Beam Perpendicular: Angle the lamp head directly at the bond to minimize reflection and maximize the energy absorbed by the material.
- Utilize Overlapping Strokes: If curing a long bond line, move the lamp slowly with overlapping passes to ensure no "cold spots" remain between the LED paths.
- Avoid Excessive Shadowing: Ensure no part of the assembly blocks the light path, as areas in shadow will remain liquid.
What Safety Considerations Matter When Using Handheld UV Lamps?
Safety when using handheld UV LED curing lamps includes protecting eyes and skin from direct UV exposure and using appropriate protective equipment. Because the tool is moved manually, there is a higher risk of accidental exposure to the operator or nearby colleagues compared to shielded, stationary systems.
You must wear UV-absorbing safety glasses or a full-face shield to prevent ocular damage, even from reflected light. It is also important to wear opaque gloves and long sleeves to protect the skin from UV-induced burns, especially during high-intensity operations where the light is concentrated on a small area.
What Are the Key Takeaways for Consistent Handheld UV Curing?
Consistent handheld UV LED curing relies on matching wavelength, proper surface prep, controlled exposure timing, and attention to safety. Mastery of these portable tools allows for high-precision results in the most challenging work environments.
- Match the LED wavelength exactly to the adhesive manufacturer's specifications.
- Keep the working distance consistent to ensure stable energy delivery.
- Always clean and stabilize substrates before applying the UV light.
- Prioritize operator safety with proper PPE and workspace awareness.
How Do Handheld UV LED Curing Lamps Operate?
How do handheld UV LED curing lamps work and what user controls typically exist? These tools generally feature an ergonomic grip, a cooling fan, and a trigger or button to activate the light. Most industrial units allow you to set a digital timer to ensure the exposure duration is identical for every part.
What Types of UV LED Spot Curing Systems Relate to Handheld Lamps?
What types of UV LED spot curing systems exist and how do handheld lamps compare? While spot systems are often tethered to a controller or integrated into a machine, they share the same focused energy principles. You can explore the differences in UV LED spot curing systems to see which configuration fits your workflow.
When Are Battery-Operated UV LED Curing Lights Useful?
When are battery-operated UV LED curing lights helpful and what are their mobility benefits? Choosing a battery-operated UV LED curing light or other battery UV LED curing lights is ideal for field work where power outlets are unavailable or cables pose a safety risk on large-scale structures.
How Do UV Adhesive Wavelength Needs Affect Consistency?
How do the wavelength requirements of adhesives influence consistent curing results? Selecting the correct UV adhesive curing wavelengths is the most critical technical step; if the spectral output is misaligned, the bond integrity will be inconsistent regardless of the exposure time.
How Does Adhesive Cure Time Vary With Intensity and Exposure?
How does cure time change with UV intensity and exposure distance when using a handheld lamp? Understanding UV adhesive curing time helps you calibrate your process, ensuring that the total energy dose ($J/cm^2$) is sufficient to penetrate the entire thickness of the resin.
What Is Tacky Cure and How Can Techniques Help?
What is tacky cure and how can controlled technique with a handheld lamp reduce it? A tacky cure often results from oxygen inhibition at the surface; using a high-intensity lamp at a close working distance can often overcome this layer for a hard finish.
What Safety Gear Should Operators Use When Curing With a Handheld UV Lamp?
What safety gear should operators use when performing handheld UV LED curing? Mandatory UV LED curing safety gear includes specialized eyewear and opaque protective clothing to mitigate the risks of high-intensity ultraviolet exposure during manual handling.
Final Thoughts
Finalizing your handheld curing technique is a step toward making your manual production as reliable as an automated line. While the tool provides the necessary mobility for complex repairs and assembly, its success is ultimately defined by the operator's discipline in maintaining distance and timing.
By treating the handheld lamp as a precision instrument and following a structured exposure protocol, you eliminate the variables that lead to bond failure. This focused approach ensures that your manual curing is both safe and exceptionally consistent, regardless of the complexity of the task.
Share on Social:


