How to Retrofit from Mercury UV to LED UV (What to Expect)
Updating an existing production line to utilize modern ultraviolet technology is a strategic move that involves more than a simple component swap. For many years, mercury arc lamps were the industry standard, but the drive for better process control and energy efficiency is moving manufacturers toward solid-state solutions.
This guide explains the technical realities of a mercury UV to LED UV retrofit, highlighting the adjustments you must make to your chemistry, cooling, and controls. By preparing for the spectral shift and mechanical integration requirements, you can ensure your transition maintains your quality standards while improving your operational uptime.
What Does Retrofitting from Mercury UV to LED UV Mean?
Retrofitting from mercury UV to LED UV means replacing traditional mercury arc curing lamps with UV LED systems while keeping much of your existing production equipment. You focus on upgrading the light source, power supplies, and control interfaces rather than rebuilding your entire conveyor or press from scratch.
While the core machinery remains the same, the curing "engine" undergoes a total transformation. You replace the high-voltage ballast and bulky lamp housing with compact LED arrays and digital drivers. This process requires a technical evaluation of your current line to ensure the new LED heads can be physically mounted and electronically integrated into your existing PLC or machine logic.
Why Companies Consider Moving Away from Mercury UV
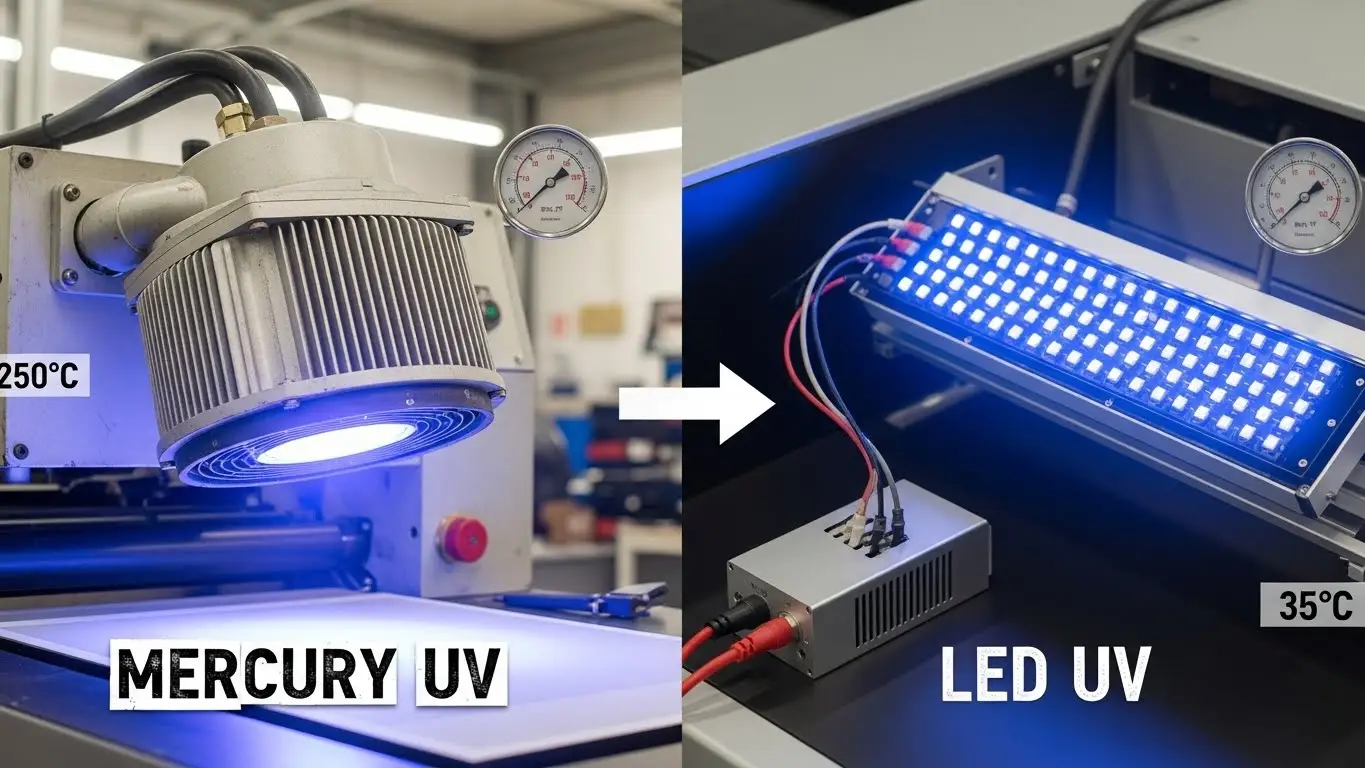
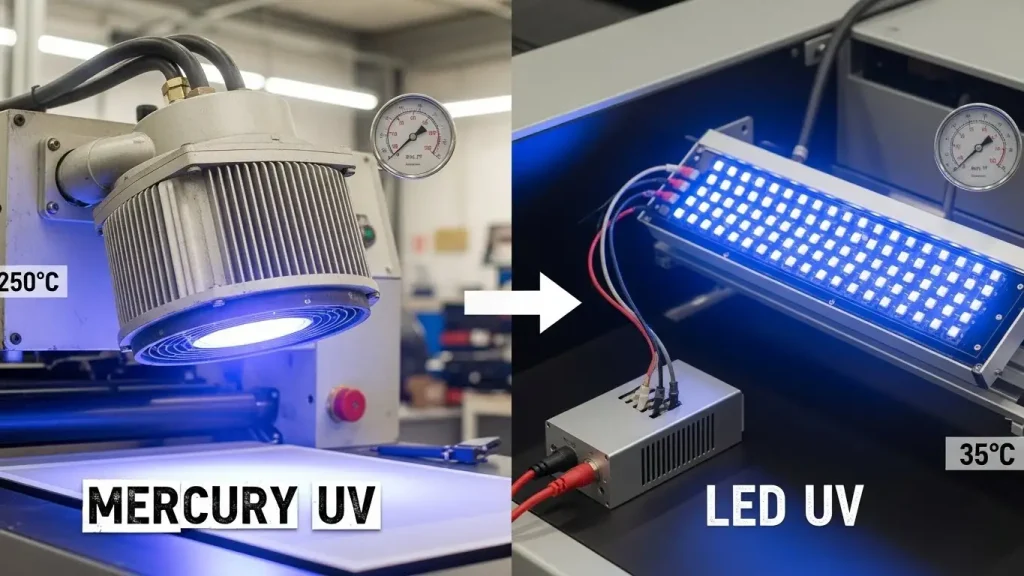
Companies consider moving away from mercury UV due to energy use, maintenance demands, warm-up time, and environmental considerations. You will find that traditional lamps require significant time to reach operating temperature and consume large amounts of electricity even when the line is idle.
Mercury lamps also contain hazardous materials and emit significant infrared heat, which can warp thin substrates or damage sensitive electronics. By switching to LED, you eliminate the need for ozone extraction ducting and frequent bulb replacements. These operational drivers often lead to a lower total cost of ownership, provided the initial retrofit is planned with an understanding of the technical differences between the two light sources.
What Changes When You Switch to UV LED Curing
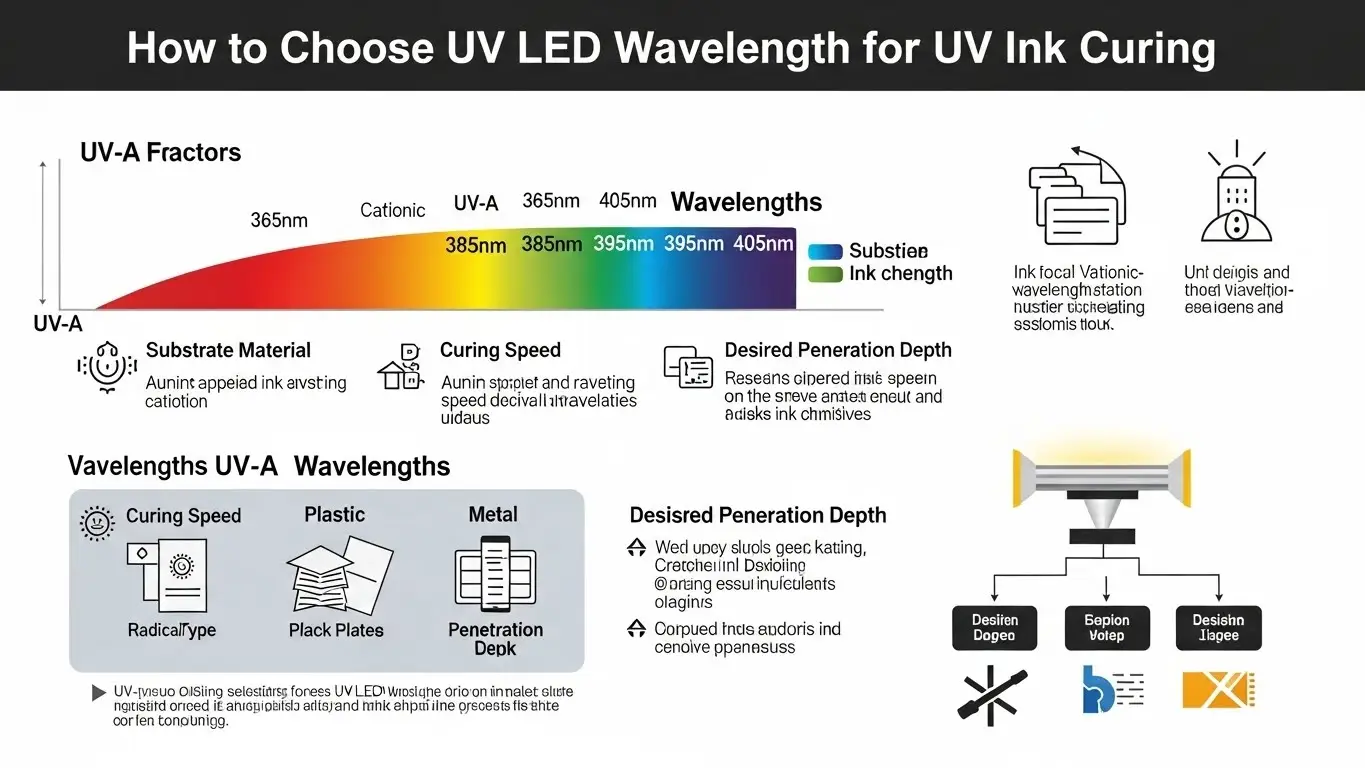
Switching to UV LED curing changes the light spectrum, intensity profile, heat output, and system control behavior compared to mercury UV. You are moving from a "broad-spectrum" source that emits light across many wavelengths to a "narrow-band" source that peaks at a specific frequency, such as 365nm or 395nm.
Because LEDs are solid-state, they offer "instant-on/off" capability, allowing you to cycle the light with the movement of your product. You will also notice a dramatic reduction in radiant heat on the substrate, as LEDs do not emit infrared energy in the curing beam. This shift requires you to recalibrate your process, as the lack of heat may change how certain resins flow or level before they solidify.
How Ink, Coating, or Adhesive Compatibility Affects Retrofit Success
Retrofit success depends heavily on whether your existing inks, coatings, or adhesives are compatible with UV LED wavelengths. Many traditional materials are formulated with photoinitiators that expect the broad-spectrum energy of a mercury lamp, including short-wave UVC.
If you attempt to cure a standard mercury-optimized resin with a narrow-band 395nm LED, it may remain tacky or fail to bond entirely. You should collaborate with your material supplier to validate whether your current chemistry needs a "re-tuning" or if an LED-specific version of the product is required. Ensuring your material's photoinitiators match the LED spectral peak is the most important step in preventing production failures during a retrofit.
What Mechanical and Electrical Changes to Expect
Mechanical and electrical changes are often required because UV LED systems differ in size, mounting, cooling, and power delivery from mercury lamps. You will likely need to design custom mounting brackets, as LED heads are typically much more compact and closer to the substrate than arc lamp housings.
Electrical integration involves replacing high-voltage power lines with low-voltage DC drivers. You also need to address cooling; while mercury lamps use massive blowers and ducting, high-power LEDs require either precise fan-driven air cooling or a dedicated water chiller. Your retrofit plan must include space for these new components and a strategy for connecting the LED controller to your machine’s safety interlocks and speed signals.
How Production Speed and Cure Performance May Change
Production speed and cure performance may change after retrofitting because LED UV delivers energy differently than mercury UV. You might find that while the LED has a higher peak irradiance, it lacks the deep-penetrating power of some mercury bulbs, or vice versa depending on the specific wavelength chosen.
To maintain your current line speeds, you may need to adjust the height of the lamp or the number of LED heads in the array. In some cases, the higher efficiency of the LED allows you to increase production speed. However, you should never assume direct equivalence; instead, use a radiometer to map the new energy profile and perform "dose ladder" tests to find the new optimal operating window for your specific product.
What to Plan for During Validation and Testing
Validation and testing are critical during a UV LED retrofit to confirm cure quality, adhesion, and long-term performance. You should plan for an extensive trial phase where you run test batches under various conditions to ensure the new system meets all your quality specifications.
- Adhesion Testing: Use cross-hatch or tape tests to ensure the bond is as strong as before.
- Surface Finish: Check for tackiness or gloss changes that might result from the different spectral output.
- Through-Cure Verification: Ensure thick coatings are hardened all the way to the substrate.
- Environmental Stress: Validate that the cured parts survive the same heat and humidity cycles required by your customers.
What Are the Key Takeaways When Retrofitting from Mercury UV to LED UV
Retrofitting from mercury UV to LED UV is a process change rather than a simple lamp swap and requires planning, testing, and realistic performance expectations. Success comes from aligning your light source, your material chemistry, and your mechanical infrastructure.
- Spectral Alignment: Match your LED wavelength (e.g., 395nm) to your ink or adhesive.
- Thermal Control: Move from bulky air ducting to efficient, localized LED cooling.
- Digital Control: Utilize instant-on/off features to reduce energy waste.
- Validation: Rely on physical testing rather than visual inspection to confirm a successful cure.
How Do UV LED Spot and Handheld Curing Systems Fit Into Retrofits?
How can UV LED spot and handheld curing systems be used during or after a mercury-to-LED retrofit? You can use UV LED spot and handheld curing tools to supplement your main line for small repairs or to "tack" parts in place before they enter the primary curing zone.
How Do UV LED Spot Curing Systems Differ From Mercury Lamps?
How do UV LED spot curing systems differ from mercury UV lamps? A UV LED spot curing system or larger spot curing systems provide a much more focused energy beam and a cooler operation, making them easier to integrate into tight machine spaces than bulky arc lamps.
How Do Handheld UV LED Curing Lamps Support Retrofit Testing?
How can handheld UV LED curing lamps be used to test materials before a full retrofit? You can use a handheld UV LED curing lamp to perform small-scale usage tests on your existing adhesives to see if they react correctly to LED wavelengths before investing in a full system.
How Do Wavelength Changes Affect Cure Results During Retrofit?
How does switching from mercury UV to narrow-band LED UV affect behavior? Selecting the correct UV adhesive curing wavelengths is vital, as the loss of broad-spectrum energy may change the depth of cure or the final surface hardness of your material.
How Does Cure Time Change After Switching to UV LED?
How does cure time change when retrofitting? Understanding the shift in UV adhesive curing time helps you set your new conveyor speeds, as the high peak intensity of LEDs often allows for faster solidification despite the narrow spectral band.
Final Thoughts
Finalizing your retrofit from mercury to LED is a transition toward a more sustainable and controlled manufacturing environment. While the initial technical hurdles—such as chemistry validation and mechanical mounting—require your attention, the rewards include a more stable process and a safer workplace. By moving away from high-heat mercury lamps, you protect your substrates and your staff while gaining the precision of digital light control. A well-executed retrofit ensures that your production line is ready for the future, providing consistent quality with a significantly reduced environmental footprint.
Share on Social:


