UV LED Spot & Handheld Curing: Precision Curing for Adhesives and Repairs
In specialized manufacturing and repair environments, the ability to focus ultraviolet energy onto a restricted area is often essential for bond integrity. While conveyor-based systems handle high-volume surface curing, portable solutions provide the agility required for complex assemblies and intricate manual work.
This guide examines the technical role of spot and handheld UV LED tools, focusing on how their targeted output interacts with adhesive chemistries. By understanding the relationship between tool positioning, wavelength selection, and exposure time, technicians can achieve consistent results in high-precision applications.
What Are UV LED Spot and Handheld Curing Tools?
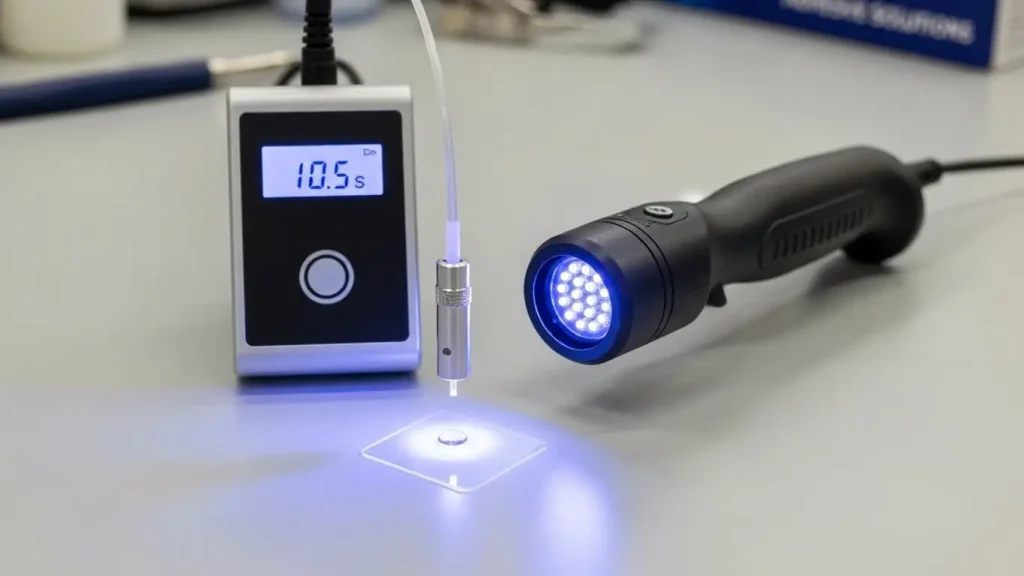
UV LED spot and handheld curing tools are portable UV LED light sources designed to deliver focused energy for precise curing of adhesives, coatings, and small repairs. You will find that these tools typically consist of a light engine connected to a flexible wand or a self-contained handheld unit that can be easily manipulated by an operator.
Unlike wide-area flood lamps, these devices concentrate their output into a narrow beam, often ranging from 3 mm to 20 mm in diameter. This allows you to apply intense UV energy to a specific bond line without exposing surrounding light-sensitive components or substrates to unnecessary heat or radiation.
Why Use Spot and Handheld Curing for Adhesives and Repairs?
Spot and handheld curing tools are used because they let operators deliver UV energy exactly where it is needed without curing larger areas unnecessarily. This targeted approach is highly beneficial in electronics assembly, where components are often densely packed and sensitive to broad-spectrum exposure.
In repair scenarios, portability allows you to reach deep into a chassis or around complex geometries that a fixed lamp cannot access. You gain greater control over the curing process, as the tool can be held at specific angles to eliminate shadowing and ensure the ultraviolet light reaches every part of the adhesive interface.
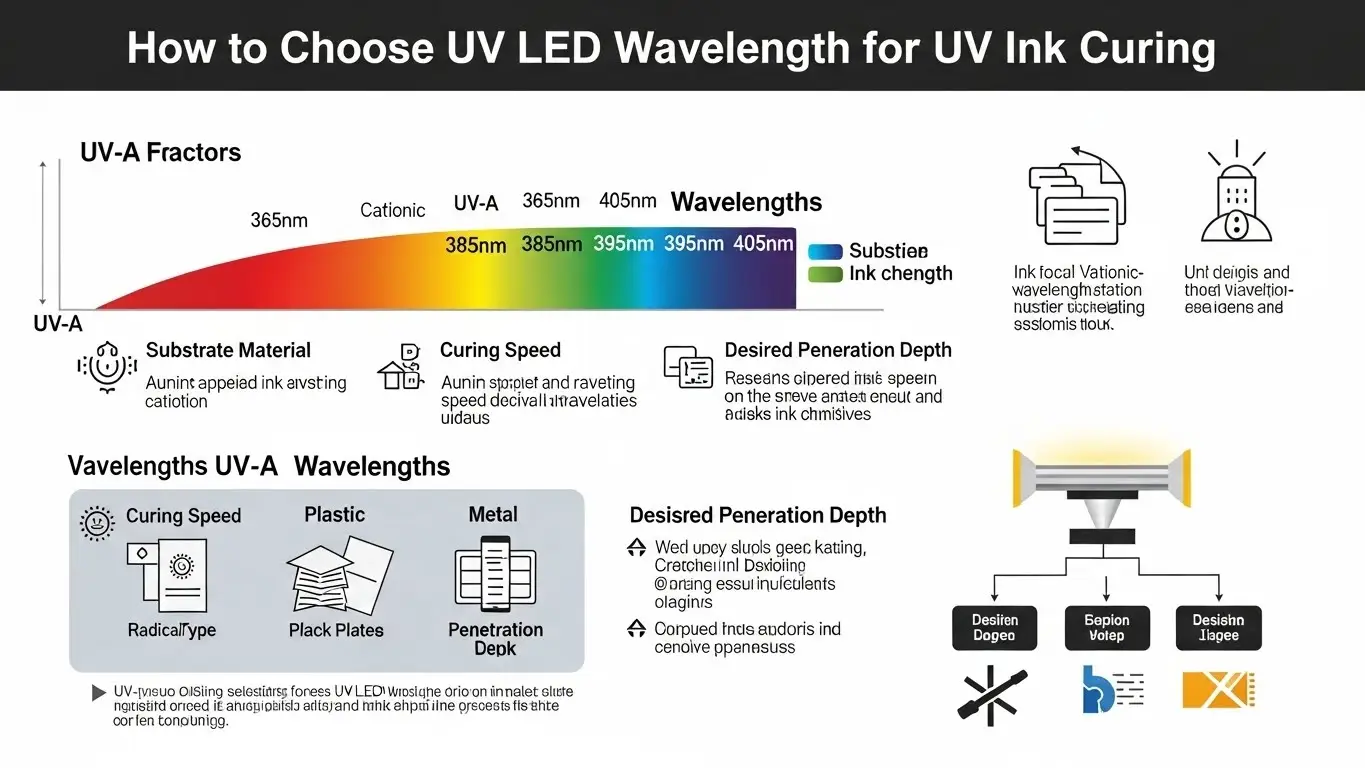
How Do You Match Wavelength to UV Adhesive Chemistry?
Matching the UV LED wavelength to the adhesive’s chemistry is essential because photoinitiators absorb specific UV ranges to initiate curing. Most industrial UV adhesives are formulated to react to 365 nm, 385 nm, or 395 nm peaks, and using an incompatible wavelength will result in an incomplete or failed bond.
You should verify the adhesive manufacturer’s technical data sheet to ensure the LED tool’s spectral output aligns with the resin’s absorption peak. A mismatch often leads to surface tackiness or a lack of internal structural strength, even if the exterior of the adhesive appears dry to the touch.
How Long Does Spot or Handheld UV LED Curing Typically Take?
Curing time with spot or handheld UV LED tools depends on adhesive formulation, light intensity, and the distance between the tool and the surface. You will notice that as you move the tool farther from the bond line, the irradiance drops significantly, requiring a longer exposure time to reach the necessary dose.
Most spot applications can be completed in 1 to 10 seconds if the tool is held at the optimal working distance and the intensity is properly calibrated. For thicker sections or pigmented resins, you may need to extend the exposure duration to ensure the light penetrates through to the substrate for a complete through-cure.
What Practical Techniques Improve Precision Curing?
Successful precision curing with spot and handheld tools depends on consistent positioning, controlled movement, and attention to adhesive response. You can achieve higher bond reliability by implementing a structured handling protocol during the curing cycle.
- Maintain Fixed Distance: Keep the wand or lamp at a consistent height to ensure the intensity remains stable throughout the exposure.
- Angle the Beam: Direct the light perpendicular to the bond line to minimize reflection and maximize energy absorption.
- Avoid Shadowing: Ensure no part of the assembly blocks the light path, as any area in shadow will remain uncured and weak.
- Use Shielding: Utilize localized enclosures or light guards to prevent UV leakage into the surrounding workspace.
What Safety Considerations Matter With Handheld UV LED Tools?
Safety considerations for handheld UV LED curing include protecting eyes and skin from direct UV exposure and using appropriate protective equipment. Because handheld tools are frequently moved, the risk of accidental exposure to the operator or nearby personnel is higher than with fixed, shielded systems.
You must wear UV-rated safety glasses or face shields and ensure that skin is covered with lab coats or gloves to prevent UV-induced burns. Establishing a dedicated curing station with appropriate curtains or light-absorbing barriers helps contain the radiation and protects the wider production environment.
What Maintenance Practices Help Keep Spot and Handheld Tools Reliable?
Regular maintenance such as cleaning optics and checking power and controls helps handheld UV LED tools maintain consistent curing performance. You should clean the output lens or light guide daily using an approved solvent to prevent adhesive overspray or dust from blocking the beam.
Over time, fibers in light guides can break or the LED diodes can degrade, leading to a drop in intensity that is not visible to the eye. Periodic measurement with a radiometer is the only way to confirm that the tool is still delivering the specified irradiance and that your process window remains secure.
What Are the Key Takeaways on UV LED Spot and Handheld Curing?
UV LED spot and handheld tools provide a portable, precise method for curing adhesives in targeted repairs or complex assembly by matching wavelength and maintaining safe distance. Success is defined by the technical alignment between tool output and chemical requirements.
- Match the LED wavelength precisely to the adhesive's photoinitiator needs.
- Maintain a consistent working distance to ensure stable irradiance delivery.
- Prioritize operator safety through UV-rated PPE and localized shielding.
- Measure output intensity regularly to detect any degradation in portable hardware.
What Types of UV LED Spot Curing Systems Are Available?
What kinds of spot curing systems exist and what are their general differences? You can find a variety of UV LED spot curing system configurations, ranging from single-channel wands to multi-channel controllers that drive several light guides for complex assembly tasks.
How Do Handheld UV LED Curing Lamps Work?
How do handheld UV LED curing lamps operate and what controls do users typically adjust? A handheld UV LED curing lamp typically features internal cooling fans and trigger-based activation, allowing for manual control of the exposure time or the use of pre-set digital timers.
What Should You Know About Battery-Operated UV LED Curing Lights?
What are battery-operated UV LED curing lights and when are cordless tools useful? Choosing a battery-operated UV LED curing light provides maximum mobility for field repairs or large structures. These cordless curing lights eliminate cable hazards in complex work environments.
How Do UV Adhesive Wavelength Needs Affect Tool Choice?
How do adhesive wavelength requirements influence the choice of UV LED curing tools? Because LEDs have a narrow spectral output, selecting the correct UV adhesive curing wavelengths is critical to avoid long cure times or soft bonds that compromise assembly strength.
How Does Adhesive Cure Time Vary With Intensity and Exposure?
How does adhesive cure time change with different intensity and exposure conditions? Understanding UV adhesive curing time helps you balance intensity and dwell time, ensuring the total energy dose is sufficient to achieve full structural integrity throughout the material.
What Is Tacky Cure and How Can Spot Tools Help?
What is tacky cure and how does targeted UV LED curing help resolve it? Oxygen inhibition can lead to a tacky cure on the surface of an adhesive; applying high-intensity spot energy can often overcome this layer for a hard finish.
What Safety Gear Should Operators Use With UV LED Spot Curing?
What safety gear is recommended when using spot and handheld UV LED curing tools? Standard UV LED curing safety gear includes UV-absorbing eyewear, opaque gloves, and long sleeves to mitigate the risk of accidental exposure during manual handling.
How Should You Maintain UV LED Spot and Handheld Tools?
How should spot and handheld UV LED curing tools be maintained for consistent output? Beyond cleaning the lens, a regular maintenance routine should include inspecting cables for fraying and using a radiometer to track intensity levels over the tool's life.
Final Thoughts on Precision Curing Tools
Finalizing your selection of a spot or handheld UV LED tool requires a balance between portability and the technical irradiance needed for your specific adhesive. While these tools offer unmatched flexibility for intricate repairs and manual assembly, their effectiveness is ultimately governed by the physics of wavelength matching and distance.
By integrating a disciplined approach to positioning and regular intensity validation, you transform a simple handheld lamp into a high-precision industrial instrument. A well-chosen tool ensures that even the most complex bonds meet the same rigorous quality standards as those produced on a fully automated line.
Share on Social:


