How to Choose Conveyor Speed for UV LED Curing (Formula & Chart)

In the high-speed world of manufacturing, the conveyor belt is your pacemaker. Run it too fast, and your UV coating remains tacky or wet. Run it too slow, and you risk thermal damage to sensitive substrates or create a costly production bottleneck.
At UVET, we have spent over 15 years optimizing UV LED systems for electronics, automotive, and printing industries across 60 countries. We know that "guessing" the speed on the dial is a recipe for failure. Whether you are curing conformal coatings on PCBs or protective layers on automotive headlights, precision is the only way to guarantee a cure.
This guide provides the mathematical formulas, lived testing protocols, and troubleshooting steps our engineers use to calculate the perfect conveyor speed for any UV LED application.
The "Golden Formula" for UV Conveyor Speed
To calculate the maximum conveyor speed, use the formula: Speed = (Average Irradiance × Exposure Window Width) / Required Dose. First, identify the target Energy Density (Dose in $J/cm^2$) from your material's technical datasheet. Next, measure your UV lamp's average irradiance ($W/cm^2$). Finally, divide the total energy potential by the required dose to determine the optimal belt speed.
The Math Behind the Magic
Most operators assume that if they double the lamp power, they can double the belt speed. While often true, this linear relationship breaks down in the real world. To get it right, you need to understand the variables:
$$Speed (V) = \frac{Irradiance (I) \times Width (W)}{Dose (D)}$$
- $I$ = Average Irradiance ($W/cm^2$): The intensity of UV energy hitting the surface. Note: This drops significantly if the lamp is raised higher.
- $W$ = Width of the UV LED Emitting Window (cm): The physical length of the LED array in the direction of travel (e.g., a 20mm or 30mm wide window).
- $D$ = Target Dose ($J/cm^2$): The total energy required to fully polymerize the ink or adhesive.
Pro Tip from UVET Engineers: Watch your units! Datasheets often list Dose in millijoules ($mJ/cm^2$), while your calculation might use Watts ($W$). Always convert to the same unit (1 $W$ = 1000 $mW$) before dividing. We have seen entire production runs fail because of a misplaced decimal point.
Why "Peak Irradiance" Matters More Than Speed
It is critical to understand that slowing the conveyor increases UV Dose (total energy), but it does not increase Peak Irradiance (penetration power).
If you are curing a thick, heavily pigmented screen ink, simply slowing the belt might not work. The UV energy needs high intensity (Peak Irradiance) to punch through to the bottom layer. If your lamp is too weak (low $W/cm^2$), no amount of dwell time will cure the base. In these cases, you don't need a slower belt—you need a higher-power UV LED head or a closer working distance.
Step-by-Step: Tuning Your Conveyor Speed
To tune your conveyor speed, perform a "Ladder Study." Start by curing a static sample to find the minimum exposure time required for a tack-free surface. Then, run the belt at a calculated baseline speed and incrementally increase speed by 10% in subsequent runs until the cure fails. Set your final production speed at 80% of the failure point to account for process variations.
Step 1: The "Static Cure" Test
Before turning on the belt, place a sample under the UV LED head. Use a timer to expose it for 0.5 seconds, then 1.0 second, then 1.5 seconds. Check for surface tackiness and adhesion. This gives you a rough "minimum time" baseline.
Step 2: The "Ladder Study" (The Industry Standard)
At UVET, we never rely on a single test. We conduct a "Ladder Study" to find the operational window. Here is an example of what that data looks like for a typical UV adhesive application:
| Run # | Belt Speed (m/min) | Calculated Dose (mJ/cm2) | Result | Tape Adhesion Test |
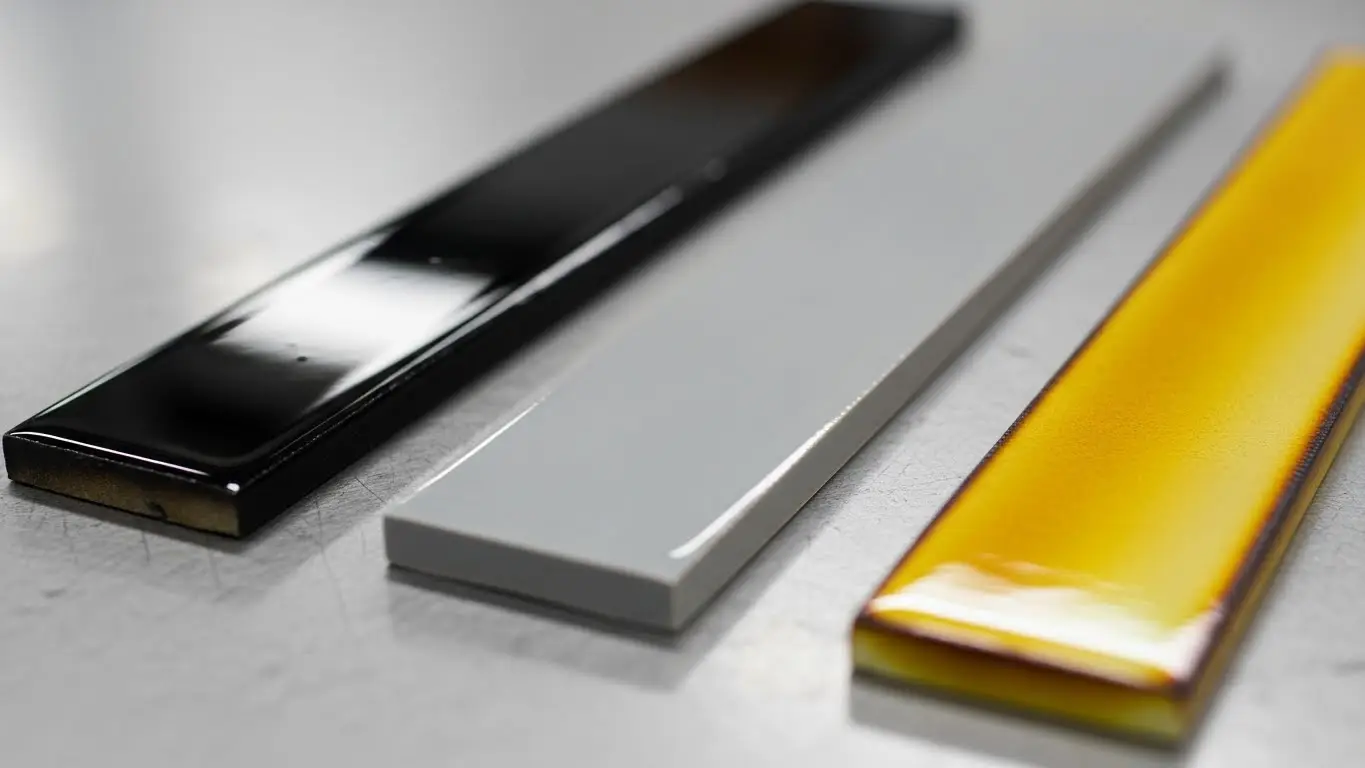
| 1 | 5 m/min | 2,500 | Over-Cured (Yellowing) | Pass |
| 2 | 10 m/min | 1,250 | Optimal (Dry/Hard) | Pass |
| 3 | 15 m/min | 830 | Optimal (Dry/Hard) | Pass |
| 4 | 20 m/min | 625 | Under-Cured (Tacky) | Fail |
In this example, the "Failure Point" is 20 m/min. The process window is between 10–15 m/min.
Step 3: Adjusting for the "Dosage Drop"
In our experience, you should never run at the absolute maximum speed (19 m/min in the example above). Real-world conditions reduce UV output over time:
- Dust and vapor settle on the quartz window.
- Substrate height varies, changing the focus point.
- LED arrays can degrade slightly over thousands of hours (though UVET systems are rated for 20,000+ hours).
Our Recommendation: Apply a 20% Safety Margin. If cure fails at 20 m/min, run your production line at 16 m/min.
Troubleshooting Speed-Related Defects
Common UV curing defects like sticky surfaces or wrinkling are often direct results of incorrect conveyor speeds. A sticky surface (Oxygen Inhibition) usually requires slowing down to increase the UVC/short-wave dose, while a wrinkled surface ("orange peel") indicates the surface is curing too fast relative to the body, requiring a faster belt speed or lower intensity.
If you are seeing quality issues, check this list before calling for service:
- Sticky Surface (Oxygen Inhibition):
- Cause: The oxygen in the air is blocking the cure on the very top layer.
- Fix: Slow Down. Increasing the dwell time allows more energy to overcome the oxygen barrier. Alternatively, increase the Nitrogen inerting if available.
- Wrinkled Surface:
- Cause: The "skin" of the coating cured instantly, but the liquid underneath moved, causing the skin to buckle.
- Fix: Speed Up. You need to balance the cure rate. Sometimes, lowering the lamp intensity (dimming) and running slower helps equalize the cure.
- Part Warping/Deformation:
- Cause: Excessive heat buildup in the substrate.
- Fix: Speed Up. Move the part through the "hot zone" faster. If that compromises the cure, you may need to switch to a water-cooled UV LED system to manage thermal output better.
- "Striping" or Uneven Cure:
- Cause: The conveyor is moving too fast for the specific gap between LED chips, or the lamp is too close to the substrate.
- Fix: Adjust the height to allow the light to blend, or slightly slow the conveyor to ensure uniform coverage.
For more on system configurations, read our guide on UV LED Curing Systems for Powder Coating.
Common Conveyor Speed vs. Material Reference Chart
Conveyor speeds vary wildly by application. Digital inkjet processes typically run fast (20-50 m/min) due to thin layers and high reactivity, while screen printing requires slower speeds (10-20 m/min) for deep cure penetration. Conformal coatings and potting applications run the slowest (0.5-1.5 m/min) to ensure full depth cure without bubbles.
Use these ranges as a starting point, but always verify with your ink supplier:
| Application Type | Typical Speed Range | Critical Factor |
| Digital Inkjet (Single Pass) | 20 – 50 m/min | Surface Tack / Dot Gain |
| Screen Printing (Thick Film) | 10 – 20 m/min | Depth of Cure (Through-Cure) |
| Offset Printing | 50 – 100+ m/min | High Intensity required |
| Electronics (Conformal Coat) | 0.5 – 1.5 m/min | Bubble Release / Edge Coverage |
| Adhesive Bonding | Static or <5 m/min | Penetration through substrates |
For specific advice on coating applications, visit our UV LED Curing for Coatings page.
Measuring Success: Don't Guess, Use a Radiometer
We cannot stress this enough: The number on your conveyor dial is not a measurement of UV energy.
A generic "Speed Setting 5" means nothing if the belt motor drifts or the gear ratio changes. To guarantee quality, especially for ISO-certified manufacturers (like our own ISO 9001 facility), you must use a UV Radiometer to measure the actual $J/cm^2$ reaching the belt. This confirms that your calculated speed is actually delivering the dose you expect.
Frequently Asked Questions
What happens if the conveyor speed is too fast for UV curing?
If the conveyor speed is too fast, the material receives an insufficient UV Dose ($J/cm^2$). This leads to an "under-cured" state where the coating may feel dry to the touch but fails adhesion tests (tape test) or chemical resistance tests. It may also leave unreacted photoinitiators that can migrate later, which is a critical failure in food packaging or medical device applications.
Can I increase UV intensity to run the conveyor faster?
Yes, increasing the UV intensity (Irradiance in $W/cm^2$) allows you to run the conveyor faster while maintaining the same total Energy Dose ($J/cm^2$). However, there is a limit. Excessive intensity can burn heat-sensitive substrates or cause surface defects like wrinkling. You must validate that the material can withstand the higher peak irradiance required for the faster speed.
How does distance affect the required conveyor speed?
As the distance between the UV LED lamp and the substrate increases, the Irradiance ($W/cm^2$) decreases rapidly. To compensate for this loss of intensity and maintain the required cure dose, you must slow down the conveyor speed. Maintaining a consistent working distance (usually 5mm to 20mm depending on the optic) is crucial for keeping line speeds high.
Why is my UV coating sticky even at slow speeds?
If the coating remains sticky even at very slow speeds, the issue is likely Oxygen Inhibition. Oxygen in the air reacts with the free radicals on the surface, stopping the cure. Slowing down helps slightly, but the most effective solutions are to increase the UVC/short-wave intensity (if using a multi-wavelength system), increase the photoinitiator concentration, or use a nitrogen inerting chamber to displace the oxygen.
Share on Social:


