
Building a Reliable UV Curing Process for Medical Device Assembly
The cure for medical assembly needs to go past simply being an initial glimpse of a bond that seems dry or is more at the surface. It should always provide sufficient adhesion and not compromise the transparency of plastic materials, flexibility of tubes and sensors or any other sensitive parts.
To ensure the success of the curing process, the medical device manufacturer must have a defined window of curing between the adhesive, component material, joint geometry, UV wavelength and exposure conditions. A small UV LED curing unit can aid this process, but the settings of the equipment need to be tested for this particular assembly, not taken from a generic curing guide.
Establish the Bond's Role and Hazard Risk.
Start by figuring out what the bonded joint will have to do once it is incorporated into the final product. The mechanical and environmental conditions are different for each of the components of a housing seal, catheter connection, diagnostic cartridge, sensor window and wearable enclosure.
Record bonded materials, joint dimensions, adhesive location, anticipated loads or exposure to moisture, chemicals or temperature changes. Also identify if the joint is cosmetic, structural, or fluid sealing and/or optically critical.
These requirements define the meaningful tests. If a clear bond is needed, optical inspection and bubble control might be required, and if a catheter joint is needed, pull, leak or pressure testing might be necessary.
Avoid applying the adhesive to the substrate, unless the adhesive and substrate are properly qualified.
The use of the UV lamp is not a quality check of any adhesive that is suitable for a medical device. The suitability of the materials, biocompatibility and regulatory documentation will rely on the adhesive chosen, the substrates combined with the adhesive, the finished device, and its intended use.
Check adhesive compatibility with polycarbonate, acrylic, PVC, silicone, glass or coated metal prior to curing trials. The adhesion also can be influenced by surface treatment, cleaning agents and residual mold-release compounds.
Verify storage conditions, open time, dispensing instructions and manufacturer recommended wavelength and dose of the adhesive. Production-representative parts should be used as opposed to only flat laboratory coupons in trials.
UVET's Medical Devices section provides an overview of UV LED applications for medical devices including component bonding applications such as diagnostic tools, tubing and wearables.
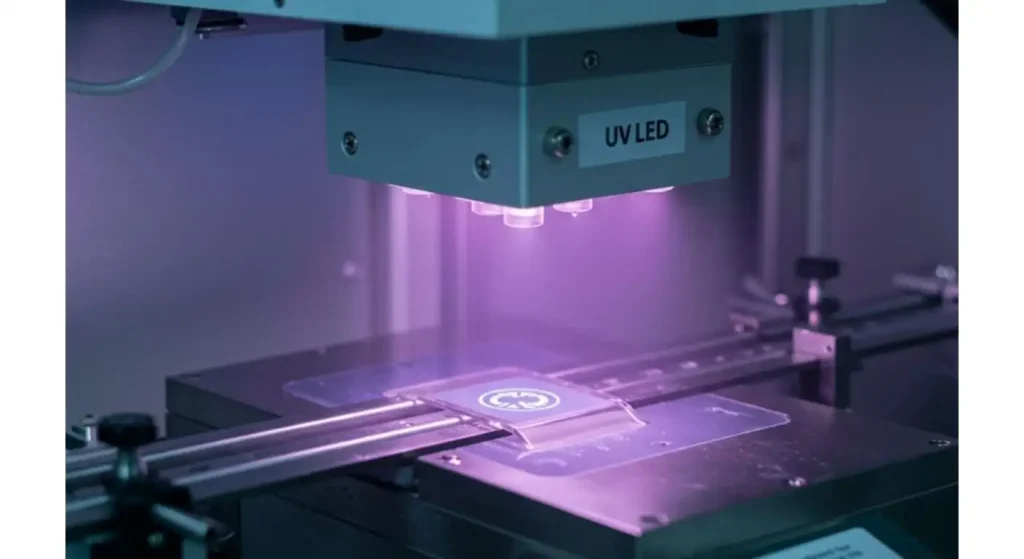
Select Wavelength from the Match Adhesive list.
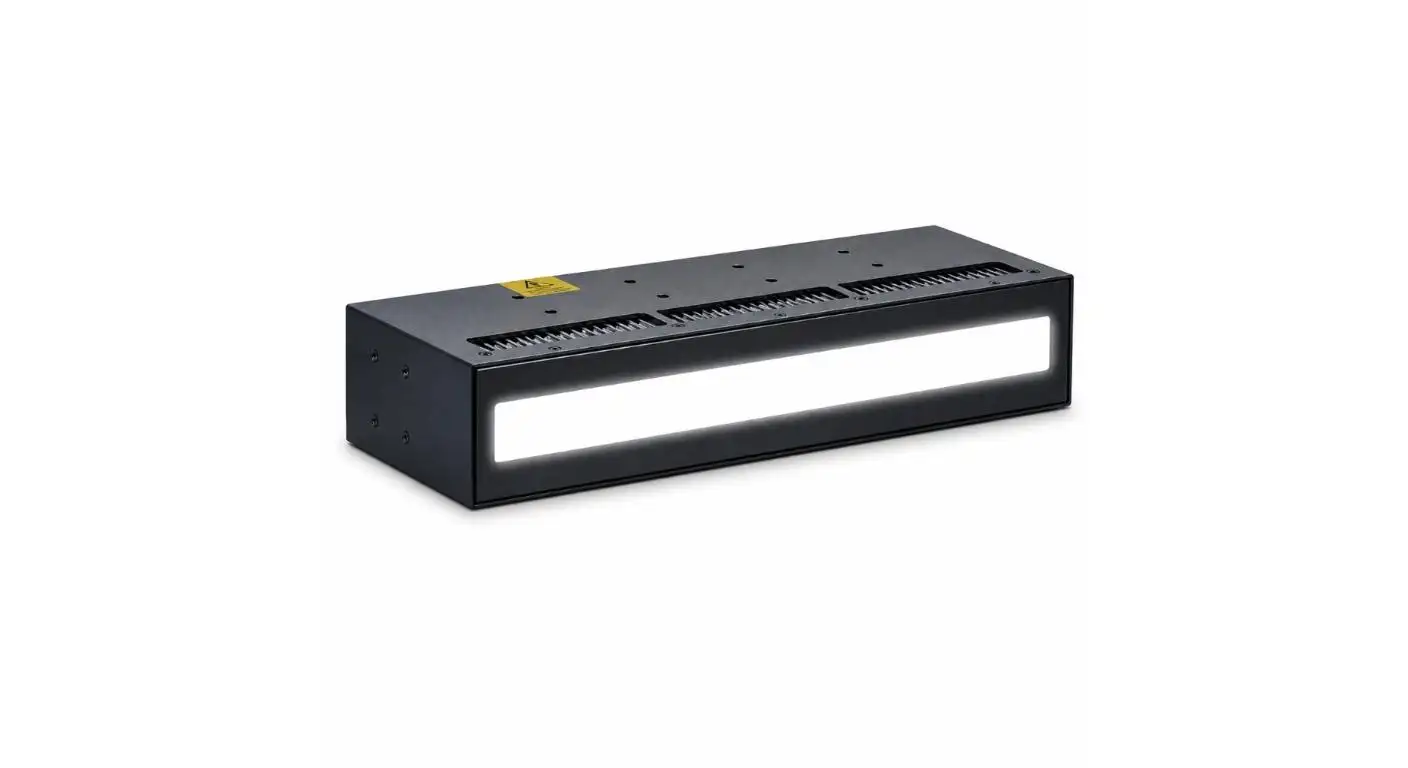
The wavelength of the curing light should fall within the range of the adhesive's photoinitiators' absorption. The UV LED Curing Unit comes in fixed 365nm, 385nm and 395nm and 405nm.
The 365 nm version provides an intensity of 2,500 mW/cm², while the 385, 395 and 405 nm versions provide up to 3,000 mW/cm². These values are not a recipe for all medical adhesive products.
Check the wavelength with the adhesive provider, and verify the actual bond geometry. An exposed joint that cures may have uncured material where it is partially painted or is too thick or the shape of the component prevents UV transmission.
| Assembly Condition | Curing Risk | Verification Method |
| Transparent housing | Reduced UV transmission | Material transmission test |
| Opaque component | Shadowed adhesive | Bond-line inspection |
| Thick adhesive layer | Incomplete depth cure | Section or hardness test |
| Flexible tubing | Heat distortion | Temperature measurement |
| Multiple fixture positions | Unequal exposure | Position-by-position UV check |
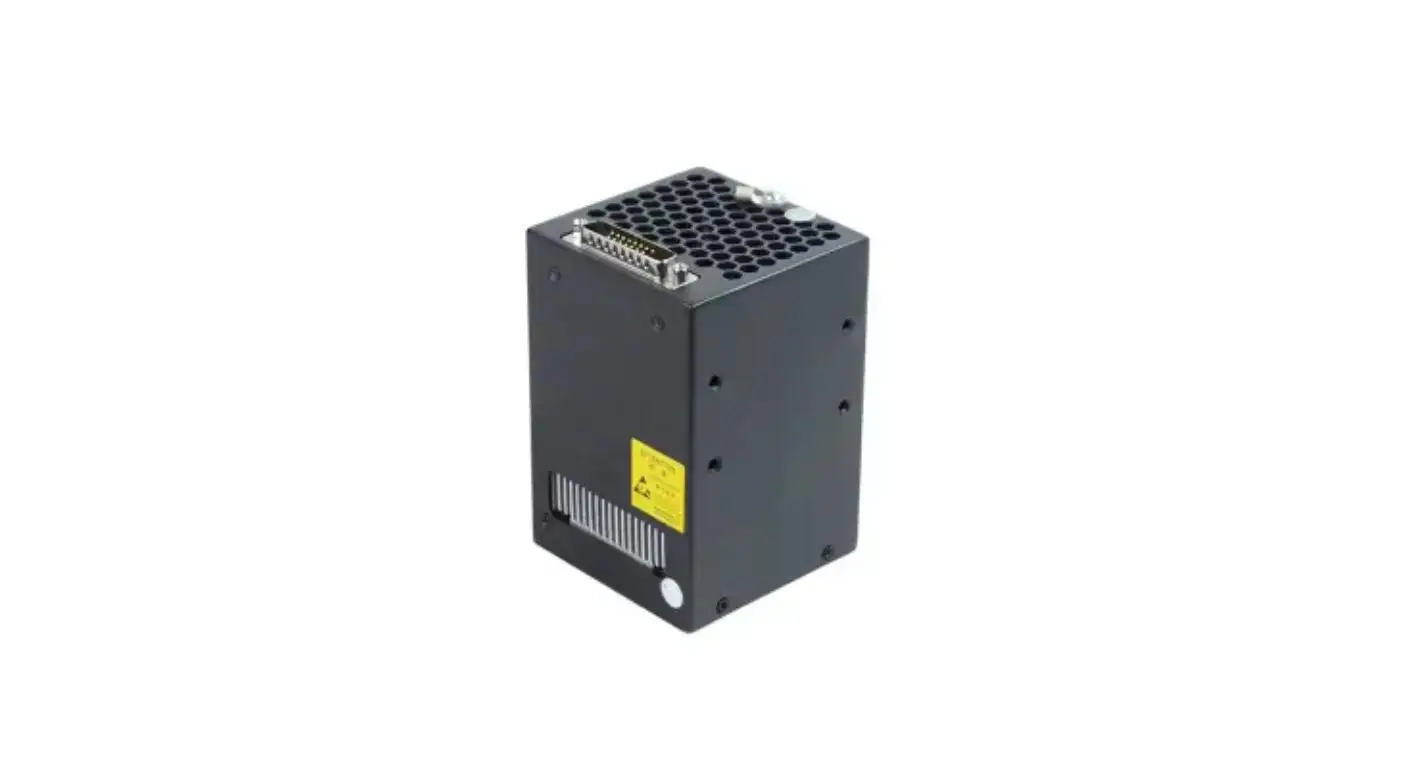
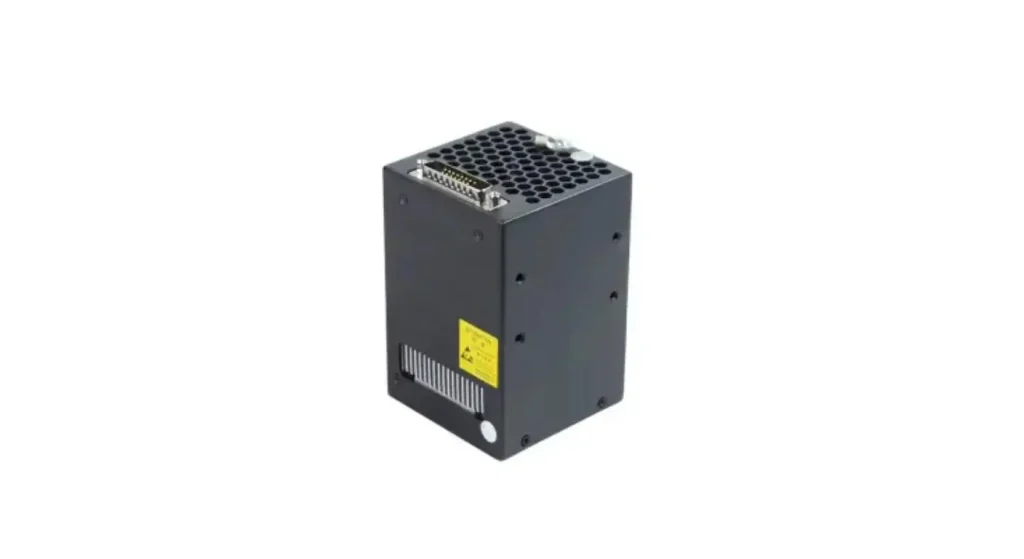
The 60 × 60 mm Curing Area Effectively will be used.
The unit offers an irradiation area of 60x60 mm, suitable for the curing of one medium sized assembly or multiple smaller components in one irradiation cycle.
No parts to be placed outside of the validated curing region. For multiple components, measure the center, edges and fix position. Don't presume that all the parts get the same amount of UV just because they are placed underneath the lamp.
The working distance should be fixed as it can change the irradiance and cover. Mechanical stops or special fixtures may be useful to assist operators in returning each assembly to the approved position.
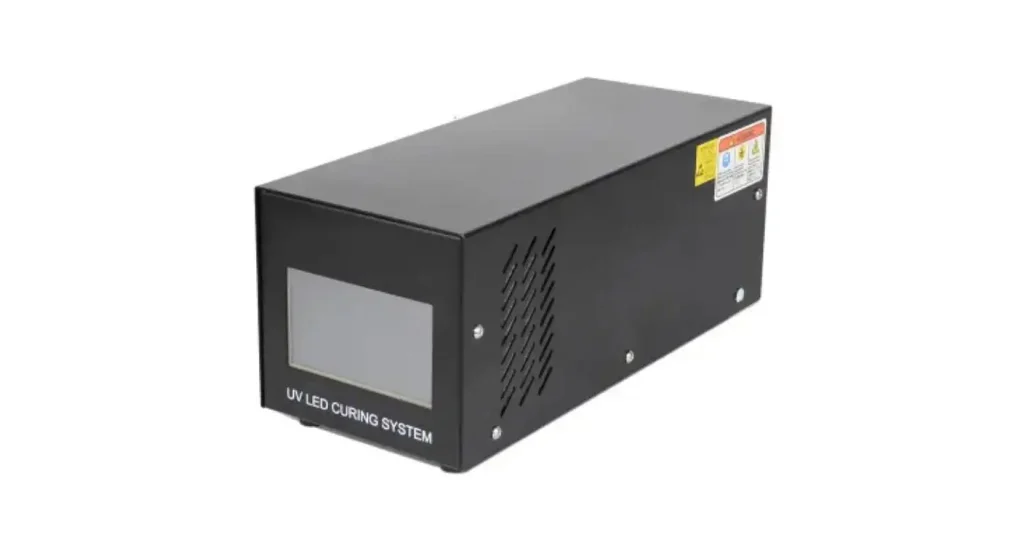
Design Fixtures that use Light Access.
Curing variation is one of the significant factors due to joint geometry. UV may be blocked from reaching the adhesive by clamps, housings, opaque parts and features used for dispensing adhesive.
The surfaces of the fixture must be able to hold the part firmly without blocking the bond line. In some applications, reflective materials of fixtures can be used as a tool to redirect light, but must be assessed as it can affect local exposure.
It is not a rule that a transparent component is always going to be transparent for the selected wavelength. Actually test or determine UV transmission in the product, with any tint, coating, thickness or other product process.
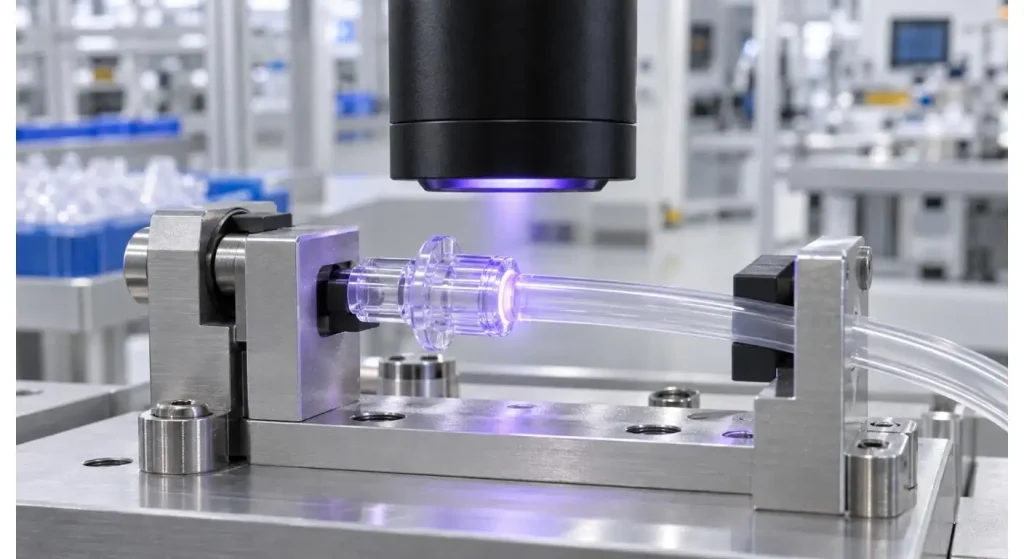
When temperature is critical, use Control Temperature on Sensitive Components.
Medical plastics and components that are very small cost less extra heat than in the case of conventional broad spectrum lamps, and yet you still need to monitor temperature.
The fan cooling system is provided in the curing unit for stable operation. Installation to ensure good air circulation around the equipment especially where installed inside an automated station.
During the validation, temperature is measured in the adhesive joint and heat sensitive areas. Record peak temperature after repeated cycles - not just the initial exposure. If needed, change the power, working distance, and/or exposure sequencing.
Provide clear definition of Measurable Cure Acceptance.
Tack-free surface only is not a criterion of acceptable curing. The method of inspection should be related to the function of the medical assembly.
The tests may be pull ability, torque, leakage, pressure holding ability, hardness or visual inspection of optical clarity for bubbles and overflow of adhesive. The method selected shall be repeatable and have acceptable limits of tolerance.
Take the wavelength, irradiance, exposure time, working distance, fixture position and component temperature measurements for each development trial. This evidence can be used to define an operating range instead of a single nominal operating point.
| Qualification Record | Information Required | Purpose |
| Material record | Adhesive and substrate versions | Control approved materials |
| Exposure record | Wavelength, irradiance and time | Reproduce the curing cycle |
| Fixture record | Position and working distance | Control light delivery |
| Thermal record | Peak component temperature | Protect sensitive materials |
| Test record | Method, limit and result | Confirm functional performance |
| Change record | Revised material or equipment | Determine requalification need |
Incorporate the Process into Medical Production
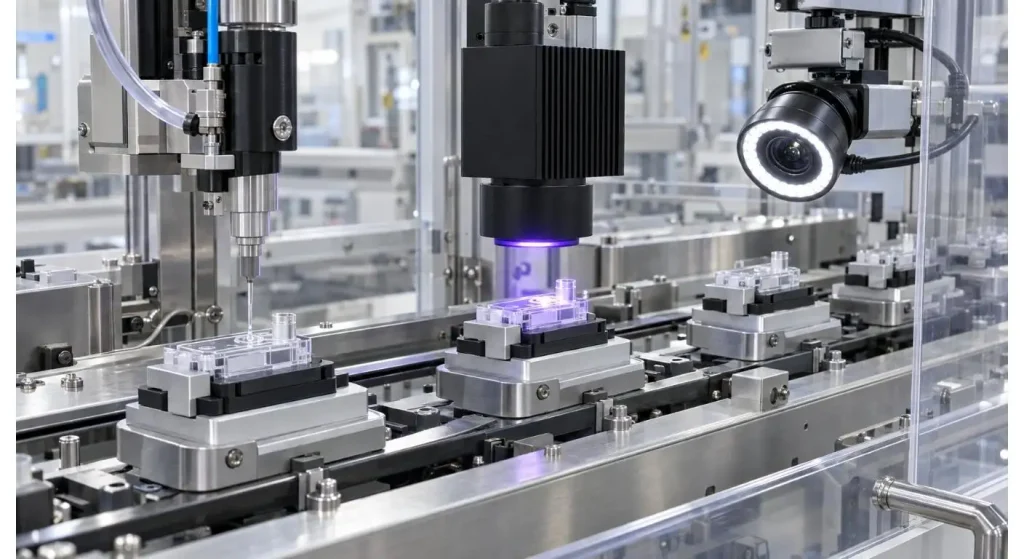
The UV LED curing unit is a stand-alone or automated production system can be used. Coordinated dispensing, component placement, exposure and inspection should be performed through integration.
Automated lines: Check for triggering, cycle completion signals, fault alarms and interlocks. The process should not allow an assembly to progress should the curing cycle be interrupted.
For applications that require a customized mechanical, optical or control integration, UVET offers OEM / ODM UV LED services as well.
Conduct a PRQ.
Laboratory trials are used to determine the initial process window, but qualification should be carried out under normal components, adhesive batches, fixtures, operators and environment.
Provide samples of variation that may be expected (e.g., minimum and maximum adhesive volume, material thickness). Test assemblies over various locations in the fixture, and at the start and end of an extended production run.
Approval records need to show the equipment set up, adhesive, component revision and validated settings. If changes are made to any of these inputs, the information may need to be reviewed and/or partially requalified.
Ensure Traceability and Change Control.
Normally, cleaning the optical window is the first step, checking the cooling fan, and measuring the UV output at regular intervals. It is not possible to ensure the right dose reaches the medical assembly by using a stable timer only.
Control changes in the glue, base, clamping, position of the lamp and UV unit. Replacement equipment should be checked against approved process prior to restarting the production process.
The more comprehensive LED UV curing systems from UVET give more information about the available wavelengths, output and industrial system integration.
Conclusion
Qualification of the adhesive, wavelength compatibility, light accessibility, temperature control and functional testing are all essential for reliable curing for medical assembly.
Determine the purpose of the joint before checking for exposure with real components and production fixtures. A documented process window and continuous monitoring of the UV output yields a more solid foundation for reproducible medical component bonding than visual monitoring.
FAQs
Q1. Which wavelength works best with medical adhesives for curing?
The ideal wavelength will vary based on the photoinitiator used in the adhesive. In general, the most popular choices are 365 nm, 385 nm, 395 nm and 405 nm but the choice of which is used should be determined by the adhesive supplier's data and practical trials.
Q2. Is UV LED curing a guarantee for biocompatibility?
No. Biocompatibility is related to the adhesive, substrate, finished device, degree of cure and intended use. The total material/process package needs to be assessed.
Q3. What can be done to cure shadowed adhesive?
Fixture design, lamp angle or component orientation may have to be adjusted. Consider also a secondary-curing mechanism, if a direct UV source is not able to reach the entire bond line.
Q4. Or is surface tack testing adequate?
No. It gives a very limited amount of information on the exposed surface. Pull, leak, torque or hardness testing should be used for functional testing, and the tests should simulate the use the joint is expected to be in.
Q5. What is the ideal time to re-qualify the curing process?
Review is recommended when changes in the level of adhesion, change of component material, fixture, lamp, working distance/exposure have been made. The amount of change should be reflected in the amount of requalification.
Share on Social:


