
Controlling Focused UV Curing in Small-Component Assembly
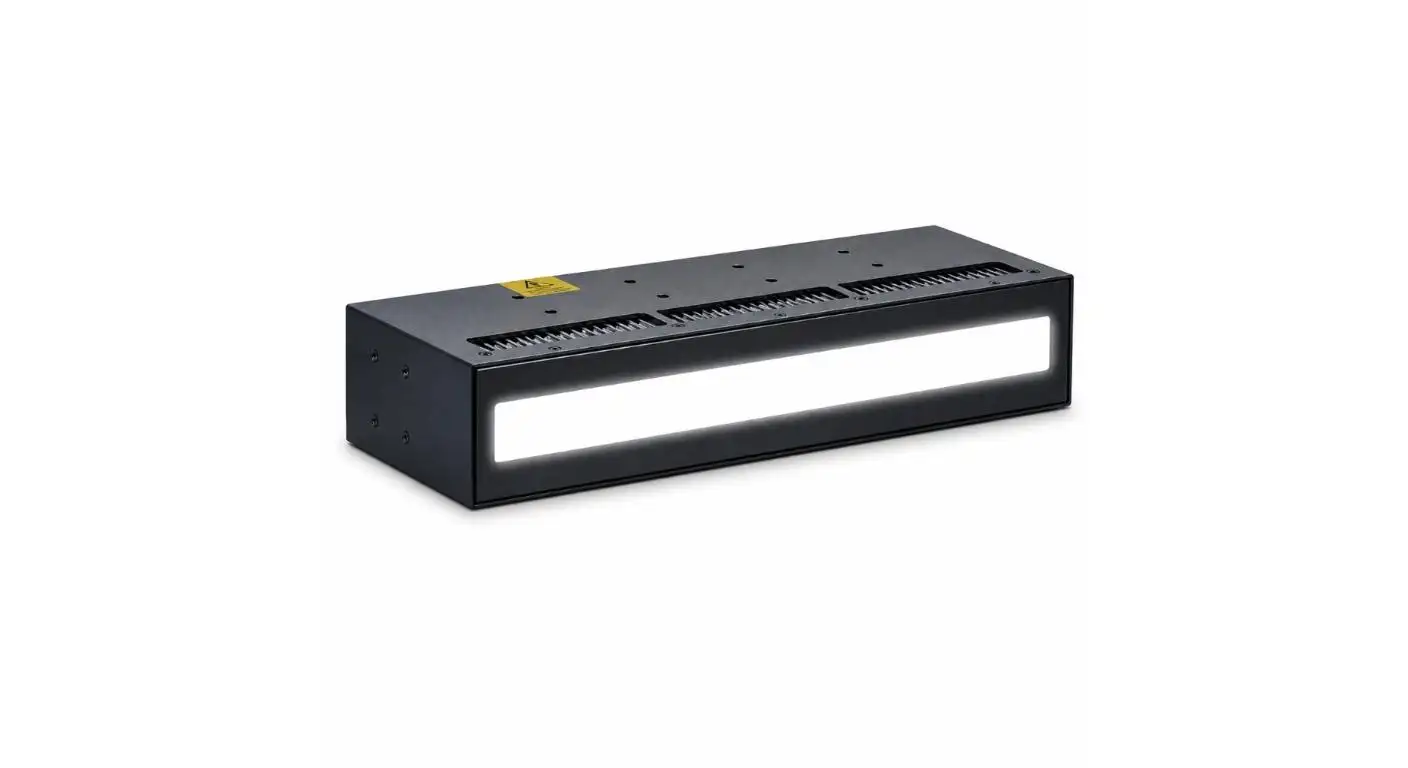
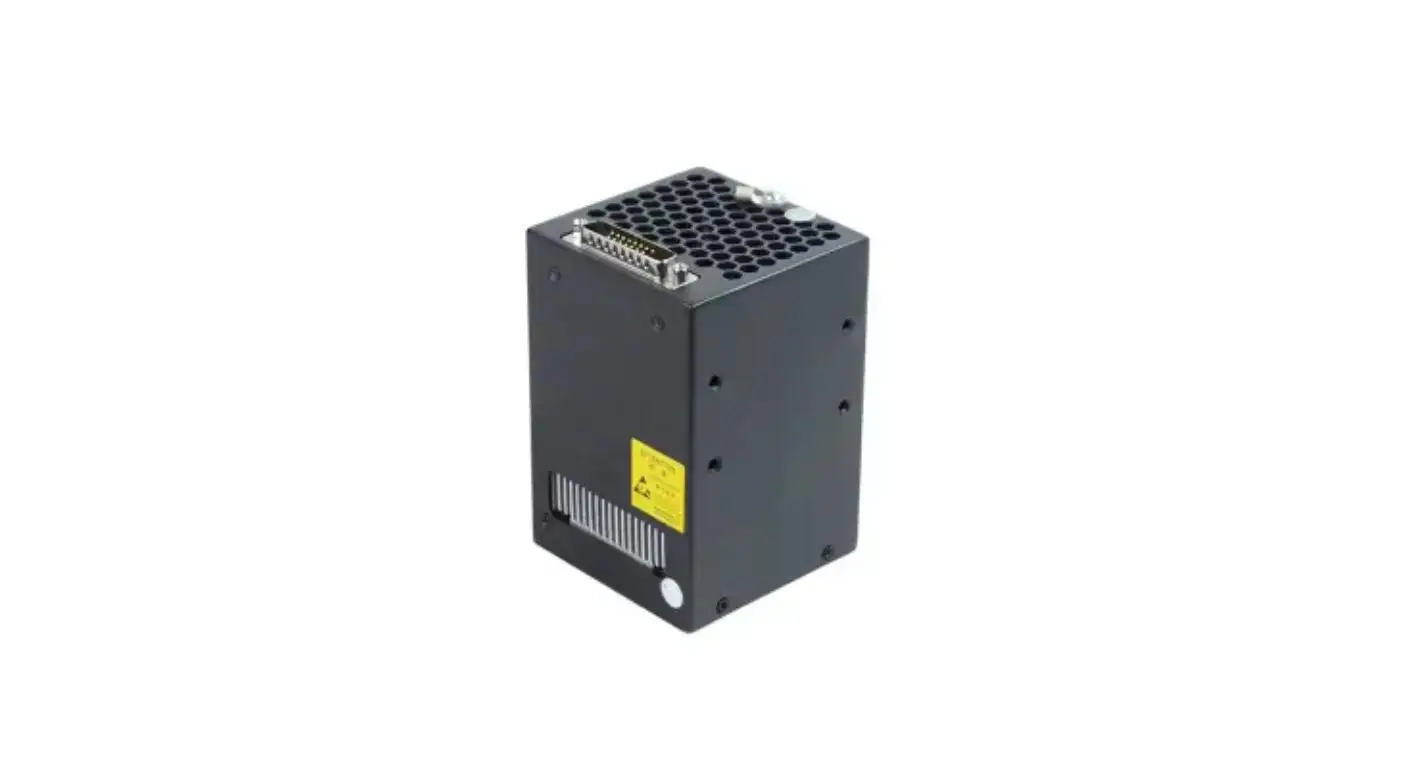
Unlike whole manufactured products, the exposure of small adhesive joints to UV light is not often necessary. The broad illumination can illuminate surrounding plastics, coatings, sensors or finished surfaces that are not to be cured.
The energy is focused by a beam of UV light on the desired bond area. It is effective for microelectronic assembly and optical alignment, medical component bonding, prototyping and localized repairs. But, it will still be reliable when spot size, distance, angle and exposure time are controlled.
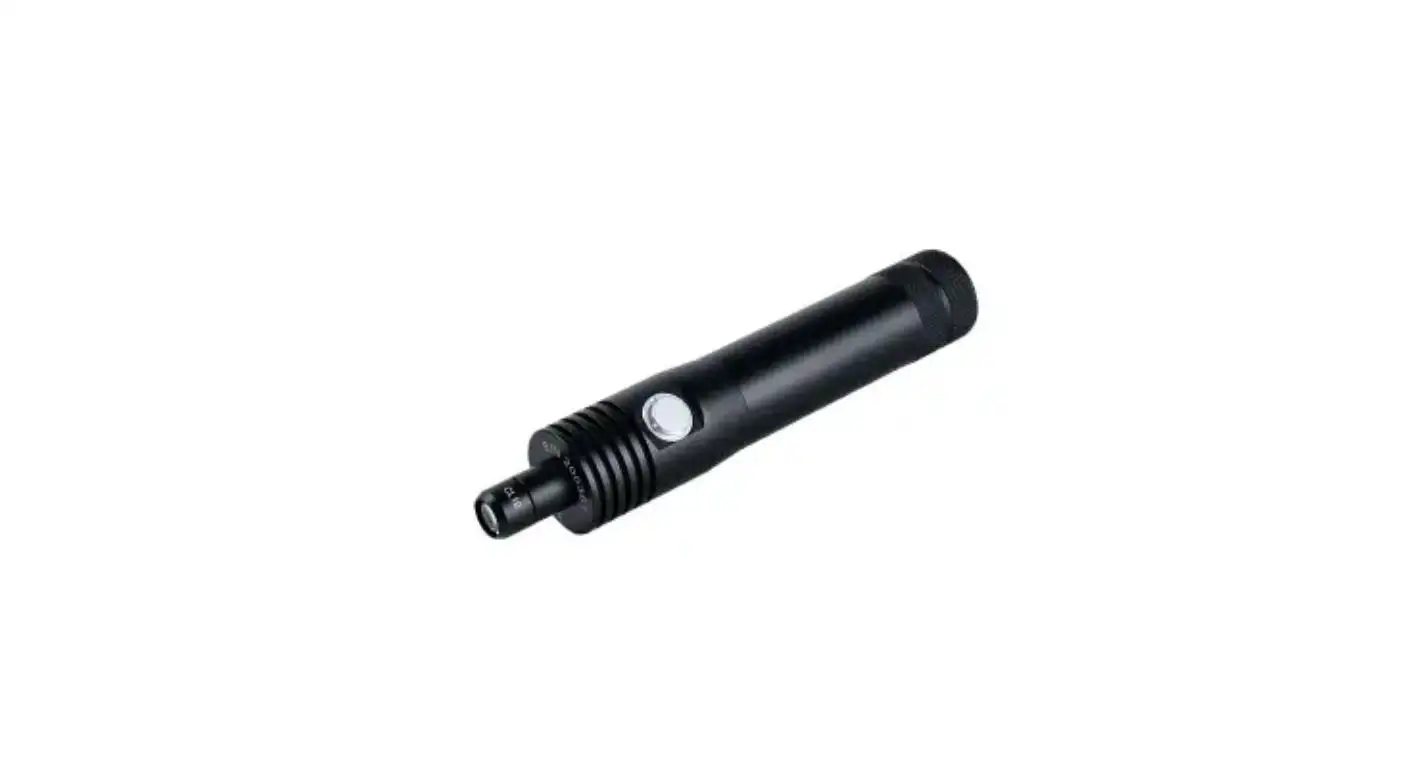
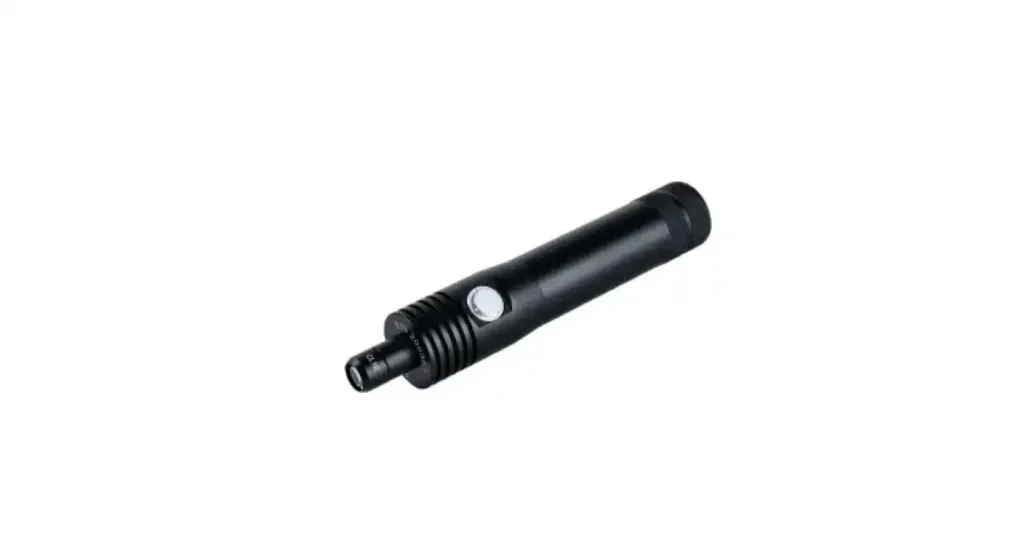
The UV LED Curing Pen is capable of interchangeable spot sizes of 4-15 mm for manual curing in a specific area.
Start with the Adhesive Joint.
The size of the required beam should not be based on the total size of the component but on the adhesive joint. Take the diameter of the bond-line, adhesive volume, depth of the joint and surrounding materials.
A controlled exposure might be needed for several exposures in a long seam or for a small circular adhesive deposit. If the area is much larger than the joint, the UV energy can possibly impact on sensitive nearby components. It is too small, some portions of the adhesive may not cure.
Also determine if the adhesive is exposed or it needs to be cured through the glass or transparent plastic. The amount of UV energy delivered can be decreased by the material between the lamp and the adhesive.
Click on the arrow to choose the Spot Size around the Bond Area
The curing pen supports six optical spot sizes: 4, 6, 8, 10, 12 and 15 mm. To ensure the functional adhesive area, it is necessary to take some process margin for the selected beam.
This margin gives some margin for manual positioning but doesn't show an unnecessarily large area. If an adhesive joint is very small, operators should not use visual estimation alone.
When the process calls for a specific spot to be cured again and again, make a basic fixture or positioning guide. A focused beam will increase the selectivity, and fixture control will increase the repeatability.
| Joint Condition | Suggested Spot Approach | Main Control Point |
| Tiny adhesive dot | Smallest spot covering the deposit | Centering accuracy |
| Circular connector joint | Spot covering the complete ring | Beam alignment |
| Narrow seam | Sequential overlapping exposures | Movement pattern |
| Recessed bond | Spot selected for available access | Exposure angle |
| Nearby sensitive component | Minimum practical spot size | Stray UV control |
Use Control Working Distance and Beam Angle for precise measurements.
Spot size is typically specified as a function of the specified optical conditions. The illuminated area, and hence the irradiance can vary depending on the distance of the curing pen to the part.
Set-up a working distance in the process development and give a physical reference for the operator. A stand, spacer or fixture may be used to hold the tool at an approved height.
The angle of the beam should ensure the complete adhesive joint has been covered with UV light. Tilting the curing pen can lead to an even exposure across the joint as well as to a side bond. Do not judge the actual assembly geometry, but rather the beam on a flat surface.
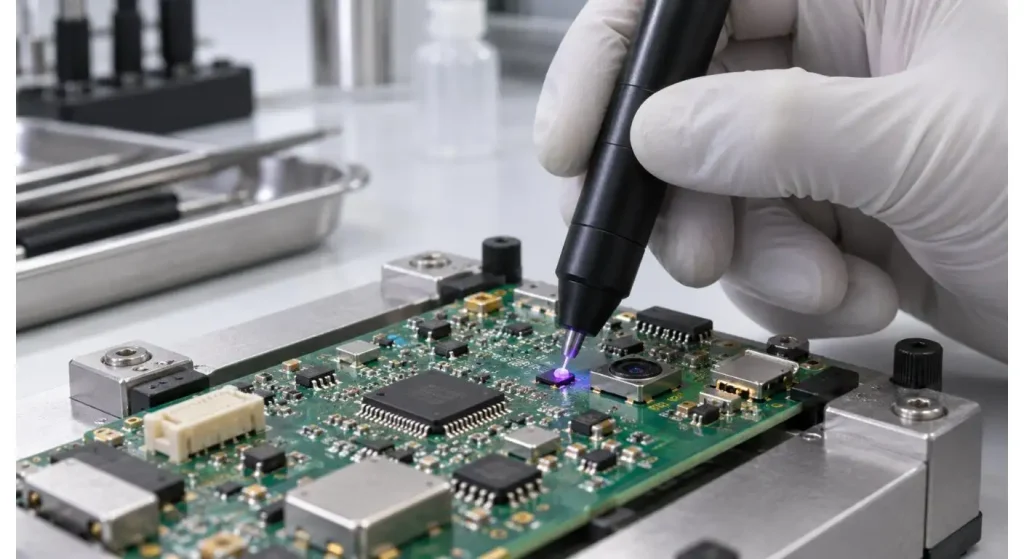
Match the wavelength with the material
There is no solution for spectral incompatibility with a well focused beam. The adhesive or coating needs to be compatible with the wavelength that is emitted by the curing pen.
The product is available in 365, 385, 395 and 405 nm versions. Choose the wavelength based on the photoinitiator and check through any clear parts that are over the adhesive.
The wider UV LED spot-curing range offers other set-ups for precision bonding applications. Final product geometry material trials should still be done.
Exposure by Dose, not appearance.
The adhesive surface may feel "dry" before the adhesive is fully cured. The only way to determine the exposure time is visually is to make sure that the light meter is in sync.
Use an appropriate radiometer to determine the intensity of the UV output at the working distance. Use irradiance and exposure to establish a first dose range then check this with functional testing.
Tests can be pull strength, torque, hardness, leak resistance, optical clarity or solvent resistance, depending on the assembly. Set up a range of minimum and maximum exposures to determine a feasible range of exposures.
Control and monitor the amount of manual positioning variation.
The variables of the handheld curing method that can't be found in fixed equipment are operator angle, hand movement, distance and timing that can be different from cycle to cycle.
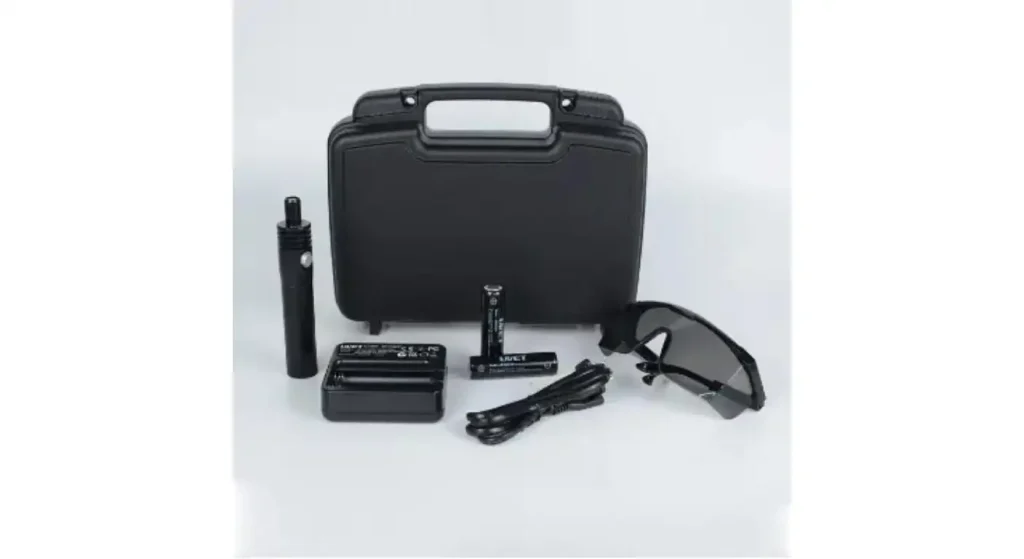
Cut long or oddly shaped joints into a series of exposures. The operator must start and stop at designated points and not move the beam in a random manner across the adhesive.
If doing something repeatedly, consider using a holder or articulated stand. It is still easy to move the curing pen, but the fixture also controls its distance and angle during the curing process.
| Manual Process Variable | Control Method | Verification |
| Working distance | Spacer or tool stand | Distance check |
| Beam angle | Fixed holder or guide | Joint coverage |
| Exposure time | Timer or written sequence | Cycle record |
| Spot position | Fixture reference point | Visual alignment |
| Battery condition | Charging schedule | Output measurement |
| Lens cleanliness | Routine inspection | Irradiance check |
For hard-to-reach areas use Focused Curing.
By being slim and cordless, the curing pen provides access to confined areas where larger equipment may not be able to reach to assemble or fixture.
Typical applications include connector bonding, sensor fixing, lens alignment, small encapsulation areas and localized repair. The focused beam can also be used to temporarily hold a component in place until another approved process cures the component.
But, UV light will not cure the material behind an opaque wall. If the bond line has shaded areas, change the part orientation, expose the bond line from more than one angle or determine if the adhesive features an appropriate secondary-curing process.
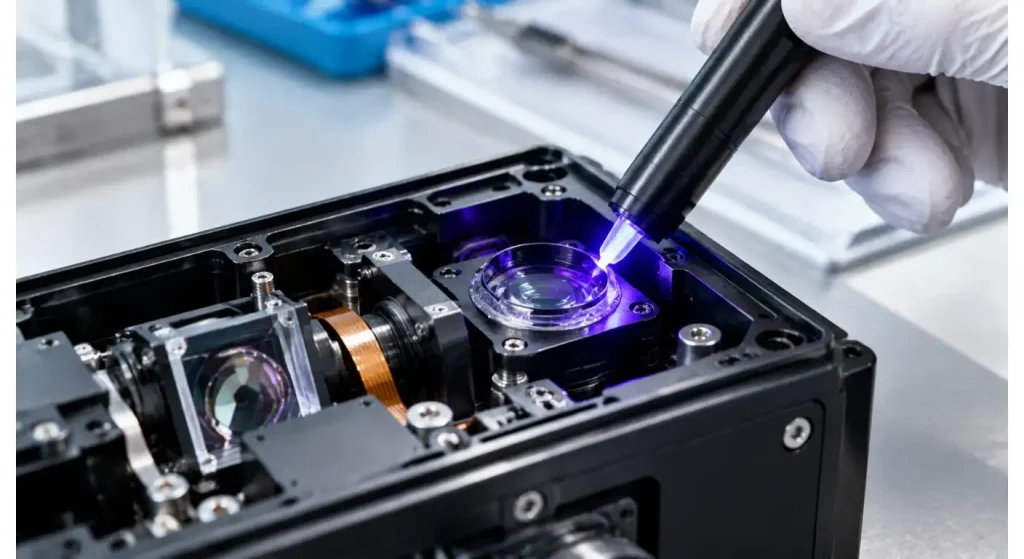
Battery and Output Condition monitoring report.
NSP1 is powered by a rechargeable lithium ion battery and offers about 2 hours of claimed running time. Mobility is enhanced by battery power but introduces yet another process variable.
The production procedure should specify when battery is charged or replaced. Avoid waiting for visible performance changes; sometimes changes in output occur over a period of time and may not be noticed by the operator.
Inspect optical lens for adhesive residue, dust or scratches. Repeat the measurement of the output periodically with the same measurement instrument and distance that is suitable for the wavelength.
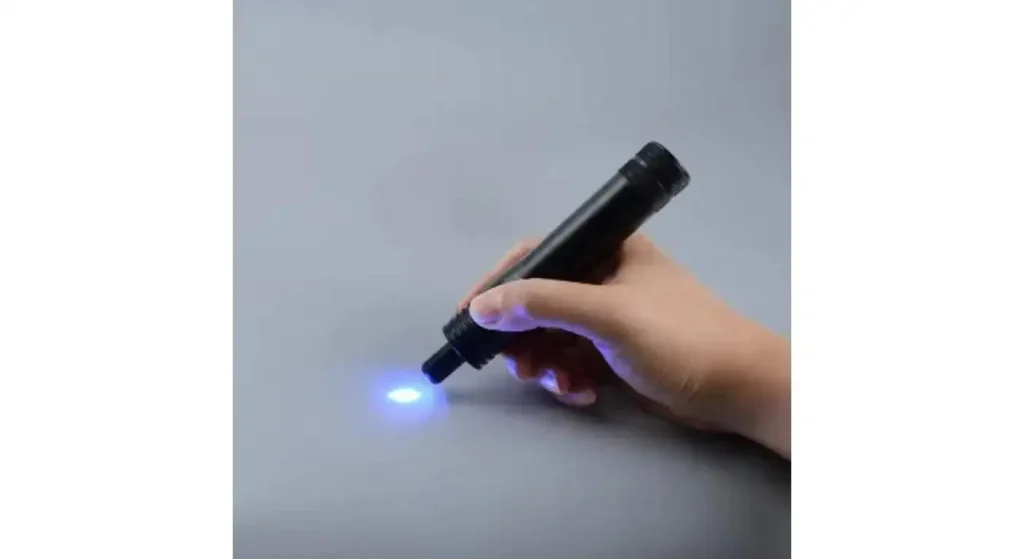
Prevent an operator from being exposed to stray UV.
A focused beam will decrease the area that is illuminated but will not eliminate the risk for exposure to UV. Avoid shining on the eye or skin of an operator.
Wear appropriate UV blocking eyewear and shields at work stations performing repetitive tasks. Fixtures need to be arranged in such a way that reflected light is not in the line of sight of the operator.
The company has a broader led UV curing system range which offers further details on industrial curing configurations and safety.
Determine when using a handheld tool is appropriate
Prototyping, repair, low volume production and assemblies that need to be accessed from many directions are the type of scenarios that a curing pen is suited for. Not suitable if the cycle time, positioning and exposure need to be carefully automated.
Increase in output volume can be used as a basis for a fixed or automated system by using the validated curing parameters. UVET also provides OEM and ODM UV LED services for special needs for customized curing needs.
Conclusion
A focused UV beam will boost the selectivity of curing by illuminating the correct area of adhesive joint. It is not a mere concentration of light that makes its value, but the fact that it can be used only under certain restrictions.
Select the area around the bond, set the working distance and check the exposure by functional tests. Simple fixtures and output checks make a portable curing tool more consistent production.
FAQs
Q1. To join two pieces of wood together, what size of a spot should be used?
Choose a location that will capture the entire functional bonding area, but allows for a small tolerance. Do not have a beam that is too large in comparison to the joint.
Q2. Do smaller spots heal quicker?
No. The speed of cure is a function of irradiance, wavelength, adhesive response and exposure time. The spot size is not the only indicator of dose delivered.
Q3. Is it possible to shine the focused UV beam on the back of the opaque parts to cure the adhesive?
No. UV light needs to be able to get to the light-sensitive material. The part could need a second exposure angle or an adhesive that uses a method of secondary curing compatible with the angles used in this part.
Q4. Does a UV curing pen make sense for the production?
Appropriate for controlled low volume or manual production, with distance, angle and timing controlled. Fixed automation might be suitable for high volume processes.
Q5. What is the frequency of the output checking in the curing pen?
Set usage and process risk schedule. It is also recommended that output be checked following damage to the lens, battery failure, or if the result is unexpected.


