How to Improve Cure on High-Speed Web Printing
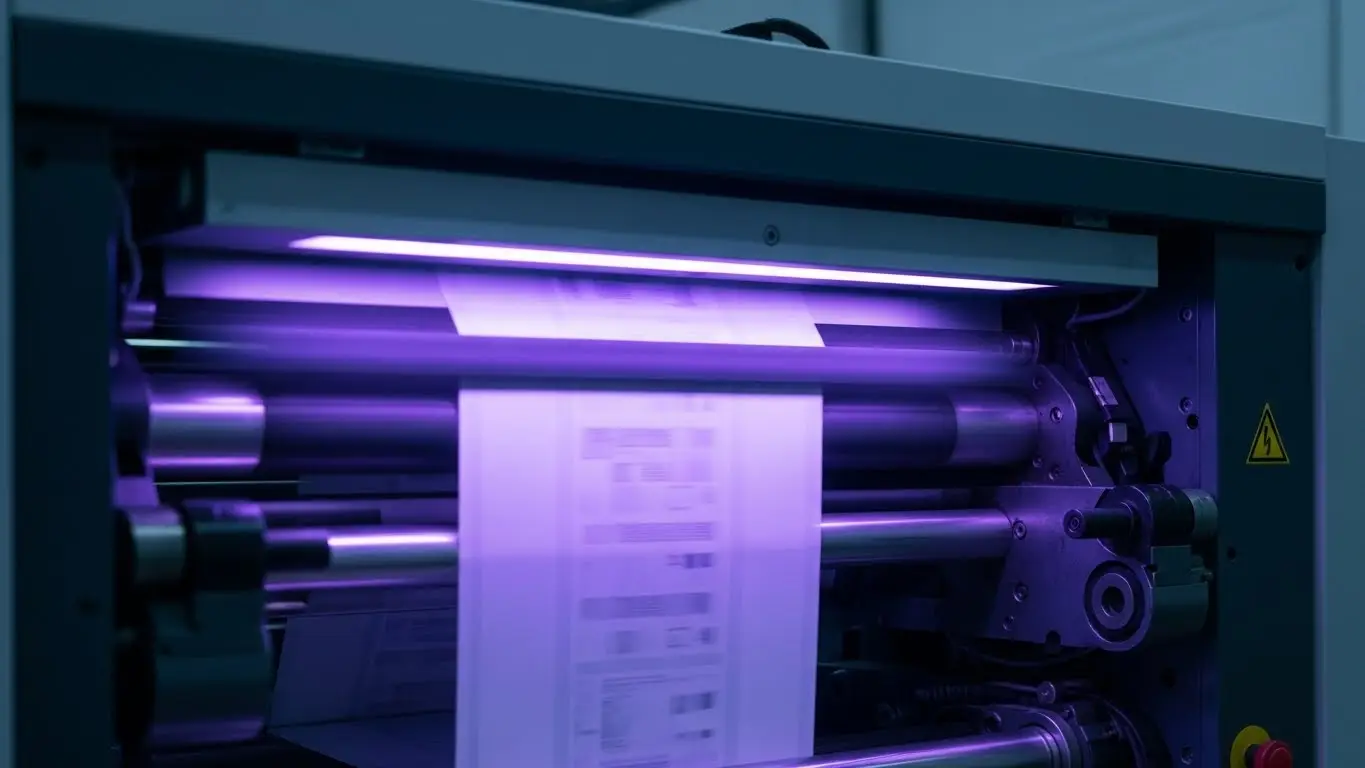
High-speed web printing is a delicate balancing act. Push the press speed too high, and you risk under-cured ink, sticky rolls, and rejected batches. Keep it too slow, and your profitability vanishes. The "sweet spot" isn't just about mechanical speed—it is about the physics of polymerization. If you are struggling to maintain a solid cure at 1,000+ fpm (feet per minute), the bottleneck is likely not your press, but your curing system’s ability to deliver energy effectively in that split-second window.
Optimizing cure on high-speed lines requires a shift in strategy—moving from "blasting heat" to precision energy management. Whether you are running narrow web flexo for labels or high-volume offset, improving your cure rating means mastering three variables: irradiance, dwell time, and spectral matching.
This guide details exactly how to stabilize your curing process, reduce waste, and confidently ramp up your press speeds using modern UV LED technology.
Why Is Curing So Difficult at High Web Speeds?
The Challenge:
As press speed increases, the dwell time (the duration ink is exposed to UV light) decreases drastically. If the "dose" (total energy delivered) drops below the threshold required for polymerization, the ink remains liquid or tacky.
The Physics of the Problem:
At lower speeds, you have the luxury of time. A lamp with moderate power can eventually cure the ink because the substrate passes slowly under the beam. However, at high speeds (e.g., exceeding 500 fpm), that exposure window shrinks to milliseconds.
The primary enemy here is oxygen inhibition. Oxygen in the air interacts with the free radicals on the surface of the ink, preventing them from linking up to form a solid polymer. To overcome this at high speeds, you cannot just rely on "more time"—you need higher peak irradiance. You need a system that delivers a massive punch of energy instantly to drive the reaction through the ink film before oxygen can interfere.
Conventional mercury arc lamps often struggle here because increasing their power also drastically increases heat, which can distort heat-sensitive substrates like shrink sleeves or thermal labels. This is where the switch to UV LED Curing for Flexo & Labels becomes a operational necessity rather than just an upgrade.
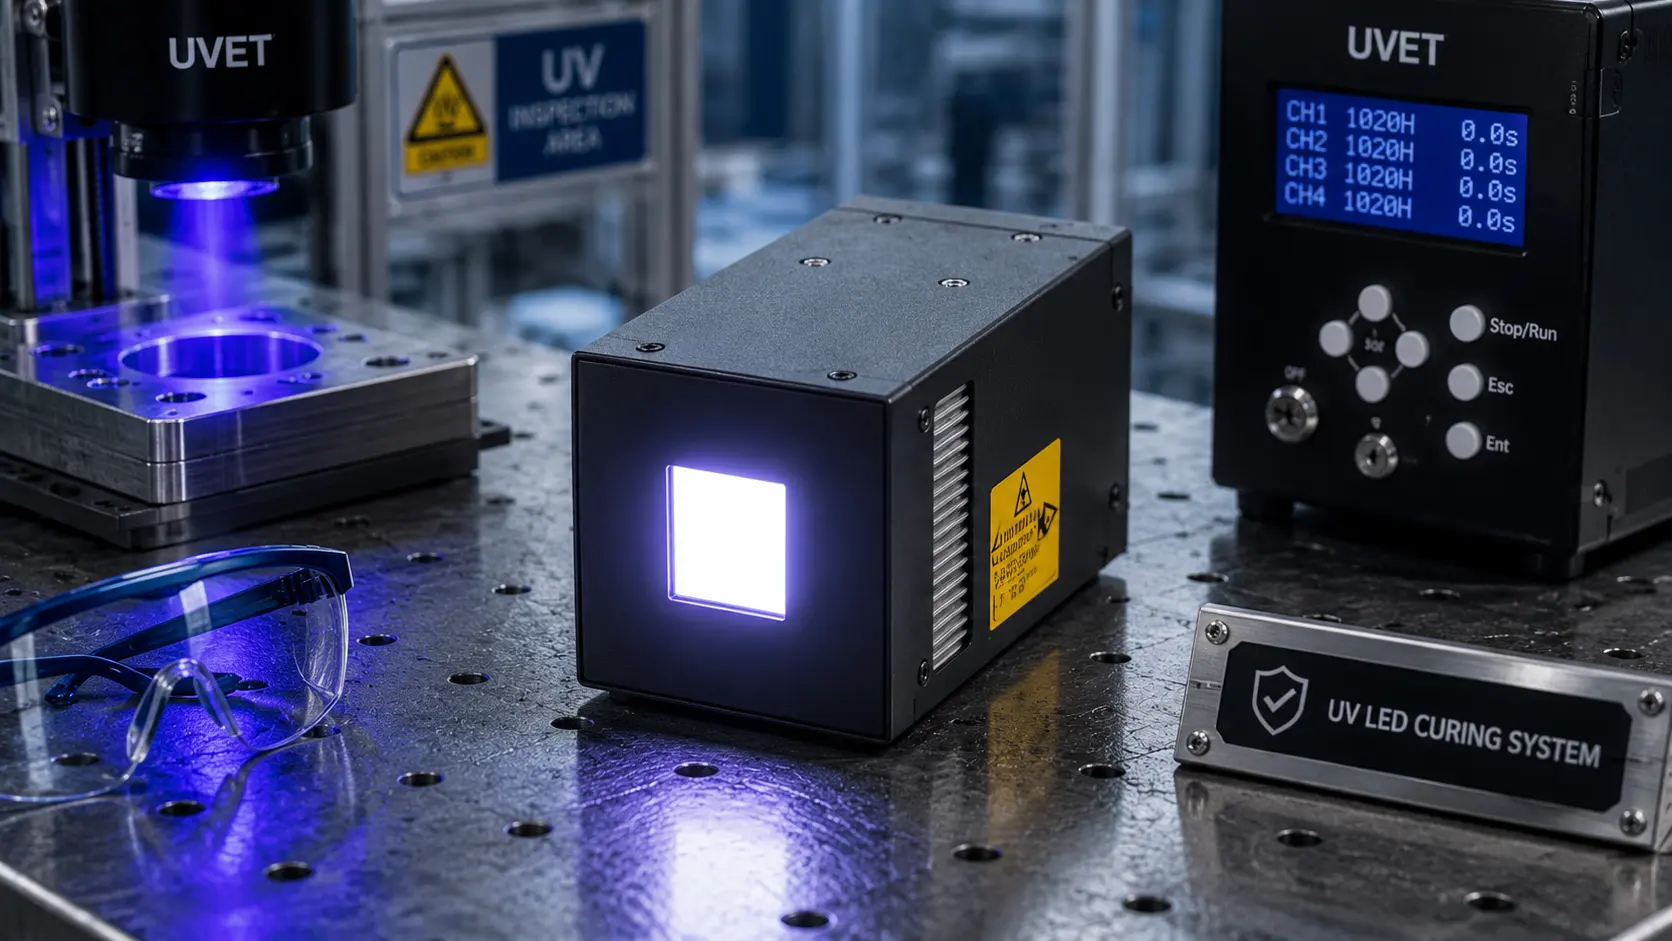
How Does UV LED Technology Solve High-Speed Curing Issues?
Quick Answer:
UV LED systems solve high-speed curing issues by providing instant, high-peak irradiance without the thermal load of mercury lamps. They emit a targeted wavelength (typically 385nm or 395nm) that penetrates deep into thick ink layers, ensuring a full through-cure even at maximum press speeds.
Detailed Expansion:
The game-changer for high-speed printing is the nature of LED output. Unlike mercury lamps that spray energy across a broad spectrum (much of which is wasted as heat), UV LEDs are monochromatic. They focus 100% of their energy into a specific bandwidth effective for curing.
- High Peak Irradiance: UV LED lamps can deliver significantly higher peak irradiance (measured in Watts/cm²) compared to arc lamps. This high-intensity "punch" is critical for overcoming oxygen inhibition at the surface instantly.
- Heat Management: High-speed presses often run thin, unsupported films. Conventional lamps emit Infrared (IR) radiation, which heats the web. To cure faster with arc lamps, you turn up the power, which turns up the heat, causing registration issues or web stretching. UV LEDs emit zero IR energy toward the substrate, allowing you to blast the ink with maximum curing power without melting the web.
- Instant On/Off: High-speed lines suffer when lamps need warm-up time. UV LEDs are instant on/off. If the press stops, the lights go off immediately, preventing web burn. When the press ramps up, the LEDs match the speed instantly.
For a deeper dive into selecting the right hardware, read about the Best UV LED Curing System for Flexo Label Printing.
What Wavelength Is Best for High-Speed Curing?
Quick Answer:
For most high-speed curing applications, 395nm is the standard wavelength because it offers the best balance of depth penetration and surface cure. However, 385nm is increasingly popular for clear coats and adhesives where preventing yellowing is critical.
Detailed Expansion:
Choosing the wrong wavelength is a common reason for poor curing. The wavelength determines how deep the light travels into the ink film.
- 395nm: This is the workhorse of the industry. It penetrates well through heavily pigmented inks (like dense blacks or opaque whites), which are notoriously difficult to cure at speed.
- 365nm: Traditionally used for surface curing to create a hard, scratch-resistant top layer. However, shorter wavelengths struggle to penetrate thick pigments.
- Mixed Arrays: Some advanced systems utilize a mix of wavelengths to ensure both adhesion (base cure) and a tack-free surface.
If your photoinitiators are tuned for 365nm (common in older arc lamp inks) but you are using a 395nm LED lamp, the ink will never cure properly, no matter how slow you run. You must ensure your ink series is "LED-optimized" for the specific wavelength of your lamp.
Read more on this topic:What Wavelength Is Best for Flexo UV Inks?
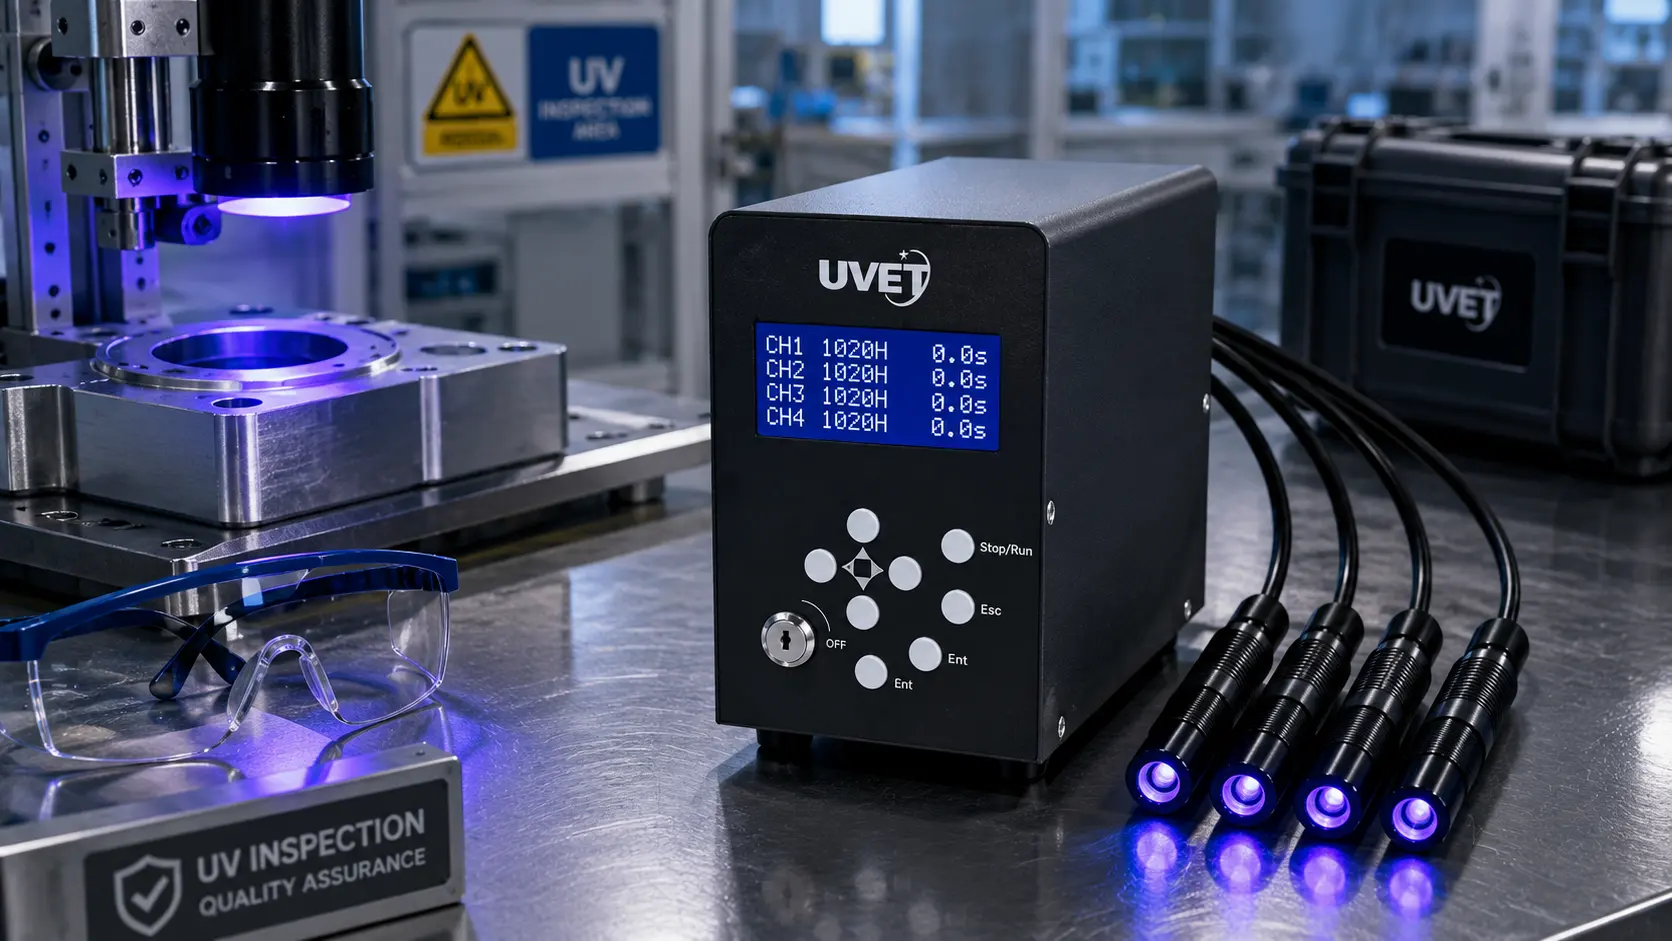
How Critical Is Lamp Position and Maintenance?
Quick Answer:
Lamp position is critical; moving a UV lamp just 10mm further from the substrate can reduce delivered energy by over 30%. To improve cure, ensure the lamp head is mounted as close to the web as the manufacturer recommends (typically 2-5mm) and keep the quartz window free of ink mist.
Detailed Expansion:
Physics dictates that light intensity follows the Inverse Square Law. This means that as you double the distance from the light source, the intensity drops to one-quarter. In a high-speed environment, you cannot afford to lose that energy.
Optimization Checklist:
- Check the Gap: Ensure the gap between the LED array and the web is consistent. If the web flutters, use a chill roller or backup roller to stabilize it directly under the lamp.
- Clean the Optics: High-speed presses generate ink mist and dust. A thin layer of grime on the lamp’s glass window acts like a sunglass lens, blocking UV energy. Establish a protocol to wipe down the lamp heads at the start of every shift using an approved solvent.
- Monitor Output: Don't guess. Use a radiometer (specifically calibrated for LED if you are using LED) to measure the actual output reaching the web. LEDs degrade very slowly, but dirty optics or power supply issues can drop output unexpectedly.
How Do You Troubleshoot "Surface Tack" vs. "Through Cure"?
Quick Answer:
Surface Tack means the top layer is sticky (oxygen inhibition), usually fixed by increasing irradiance or using a shorter wavelength. Through Cure failure means the ink peels off the substrate, indicating the light didn't penetrate to the bottom; this is fixed by increasing dwell time or using a longer wavelength (like 395nm).
Detailed Expansion:
Distinguishing between these two problems is vital because the fixes are opposite.
Scenario A: The Thumb Twist Test (Surface Cure)
You press your thumb on the print and twist.
- Result: You leave a fingerprint or the surface feels rubbery.
- Diagnosis: The oxygen in the air is killing the cure at the surface.
- Fix: You need higher peak irradiance (more intensity, not necessarily more total energy). Check if the lamp focus is sharp or if the power setting is at 100%.
Scenario B: The Tape Test (Through Cure/Adhesion)
You apply tape to the print and rip it off.
- Result: The ink lifts off the substrate cleanly.
- Diagnosis: The UV light never reached the bottom of the ink layer to bond it to the material.
- Fix: This is a penetration issue. The ink might be too thick (high film weight), or the pigment load is blocking the light. You may need to slow the press down (to increase dose/dwell time) or switch to a wavelength that penetrates better (like 395nm).
Can Ink Management Reduce Cure Issues?
Quick Answer:
Yes, maintaining proper ink viscosity and film thickness is essential. Thinner ink films cure faster and more evenly. Over-emulsified ink (in offset) or ink with incorrect viscosity (in flexo) can block UV light transmission, leading to incomplete curing regardless of lamp power.
Detailed Expansion:
The chemistry of the ink must align with the physics of the lamp.
- Film Weight: The thicker the ink, the harder it is to cure. In flexo, using a lower volume anilox roll can help lay down a thinner, more controllable layer that cures instantly at high speeds.
- Photoinitiator Load: If you are running at extreme speeds, "standard" curing inks might not react fast enough. You may need "high-speed" or "highly reactive" ink formulations designed with a higher load of photoinitiators.
- Odor Control: Incomplete curing is the #1 cause of odor in packaging. Uncured monomers are volatile and smell. If you are printing food labels, ensuring a full cure is a safety compliance issue, not just a quality one.
Learn more about this critical aspect:How to Reduce Odor in UV Flexo Inks with LED Curing.
5-Step Routine to Optimize High-Speed Curing
To ensure consistent results, implement this standard operating procedure (SOP) for your press operators:
| Step | Action | Why It Matters |
| 1 | Check Lamp Height | Ensure the LED head is within 2-5mm of the web. Maximizes irradiance reaching the ink. |
| 2 | Clean Lamp Windows | Wipe down the quartz window with alcohol to remove UV-blocking ink mist and dust. |
| 3 | Verify Power Settings | Ensure UV output is set to scale with press speed. Prevents under-curing at high speeds or over-curing at low speeds. |
| 4 | Monitor Ink Density | Use the correct anilox/density. Don't run ink thicker than needed. Thinner films cure faster and adhere better. |
| 5 | Perform Tape Test | Check adhesion immediately at the start of the run. Catches "through cure" issues before you waste material. |
Conclusion
Improving cure on high-speed web printing is rarely about just "turning up the power." It is about the intelligent application of energy. By transitioning to UV LED systems, matching your ink chemistry to your lamp’s wavelength, and strictly managing the physical gap between the lamp and the web, you can break the speed barrier.
You no longer have to choose between speed and quality. With the right setup, you can run your press at maximum rated speeds while delivering dry, durable, and odor-free prints every time.
Share on Social:


