How to Prevent UV Ink Smearing with Proper LED Curing
Preventing UV ink smearing requires a precise balance of UV LED irradiance (intensity) to overcome oxygen inhibition at the surface, and sufficient energy density (dose) to ensure adhesion to the substrate. If your prints are tacky or smearing, the issue usually stems from a mismatch between your line speed, lamp wavelength, and the ink's formulation.
In this guide, we will troubleshoot your curing process by controlling:
- Peak Irradiance: Breaking the "oxygen barrier" for a dry surface.
- Energy Density: Ensuring deep through-cure for adhesion.
- Wavelength Matching: Aligning 365nm-405nm outputs with ink photoinitiators.
- Pinning Strategies: Freezing dots before the final cure.
- Lamp Maintenance: Cleaning optics to restore lost power.
For a broader understanding of the fundamentals, you can refer to our complete UV LED ink curing guide.
Why UV Ink Smears: The Science of "Under-Curing"
When UV ink smears, it is rarely "bad ink." It is almost always a failure of the chemical reaction known as polymerization. Unlike solvent inks that dry by evaporation, UV inks cure instantly when photoinitiators absorb UV light.
However, two distinct types of failure cause smearing:
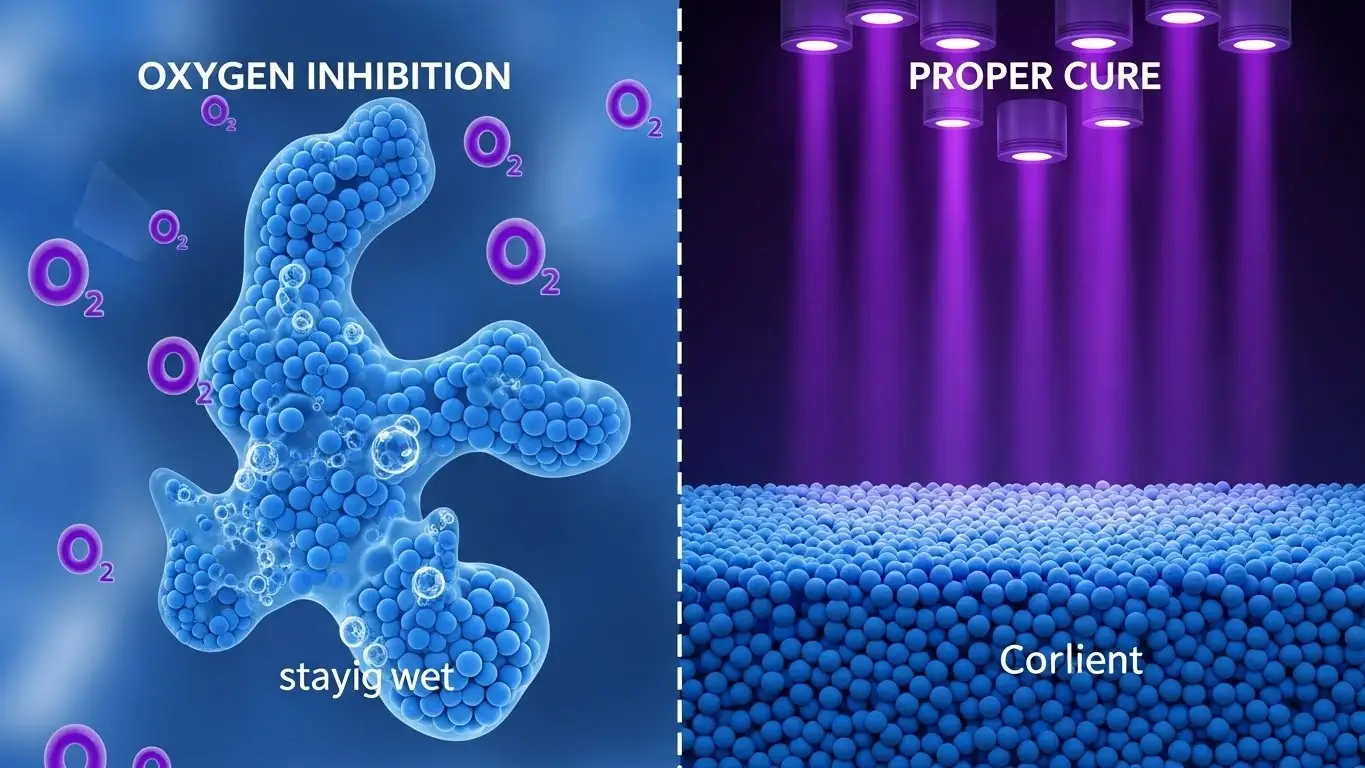
- Surface Tack (Oxygen Inhibition): The bottom of the ink layer is cured, but the top remains sticky. This happens because oxygen in the air chemically blocks the cure at the very surface. To fix this, you need higher Peak Irradiance (measured in W/cm²) to "punch" through the oxygen barrier.
- Through-Cure Failure: The surface is dry, but the ink rubs off or wrinkles. This means the UV light didn't penetrate deep enough to bond the ink to the material. This often requires a higher Energy Density (measured in J/cm²), which is a factor of time and power.
Understanding how UV LED curing works in inkjet printing is critical: unlike broad-spectrum mercury lamps, LEDs emit a narrow band of light. If that band doesn't hit the specific activation energy of your ink, the reaction will stall, leading to smears.
5 Common Causes of Ink Smearing (And How to Fix Them)
If you are seeing wet ink or rub-off, check these five culprits first.
1. Mismatched Wavelengths
UV LED lamps typically emit at 365nm, 385nm, 395nm, or 405nm. If your ink is formulated to react primarily to 365nm (surface cure) but your lamps are 395nm (deep cure), you may end up with a tacky surface. Always verify your ink's Technical Data Sheet (TDS).
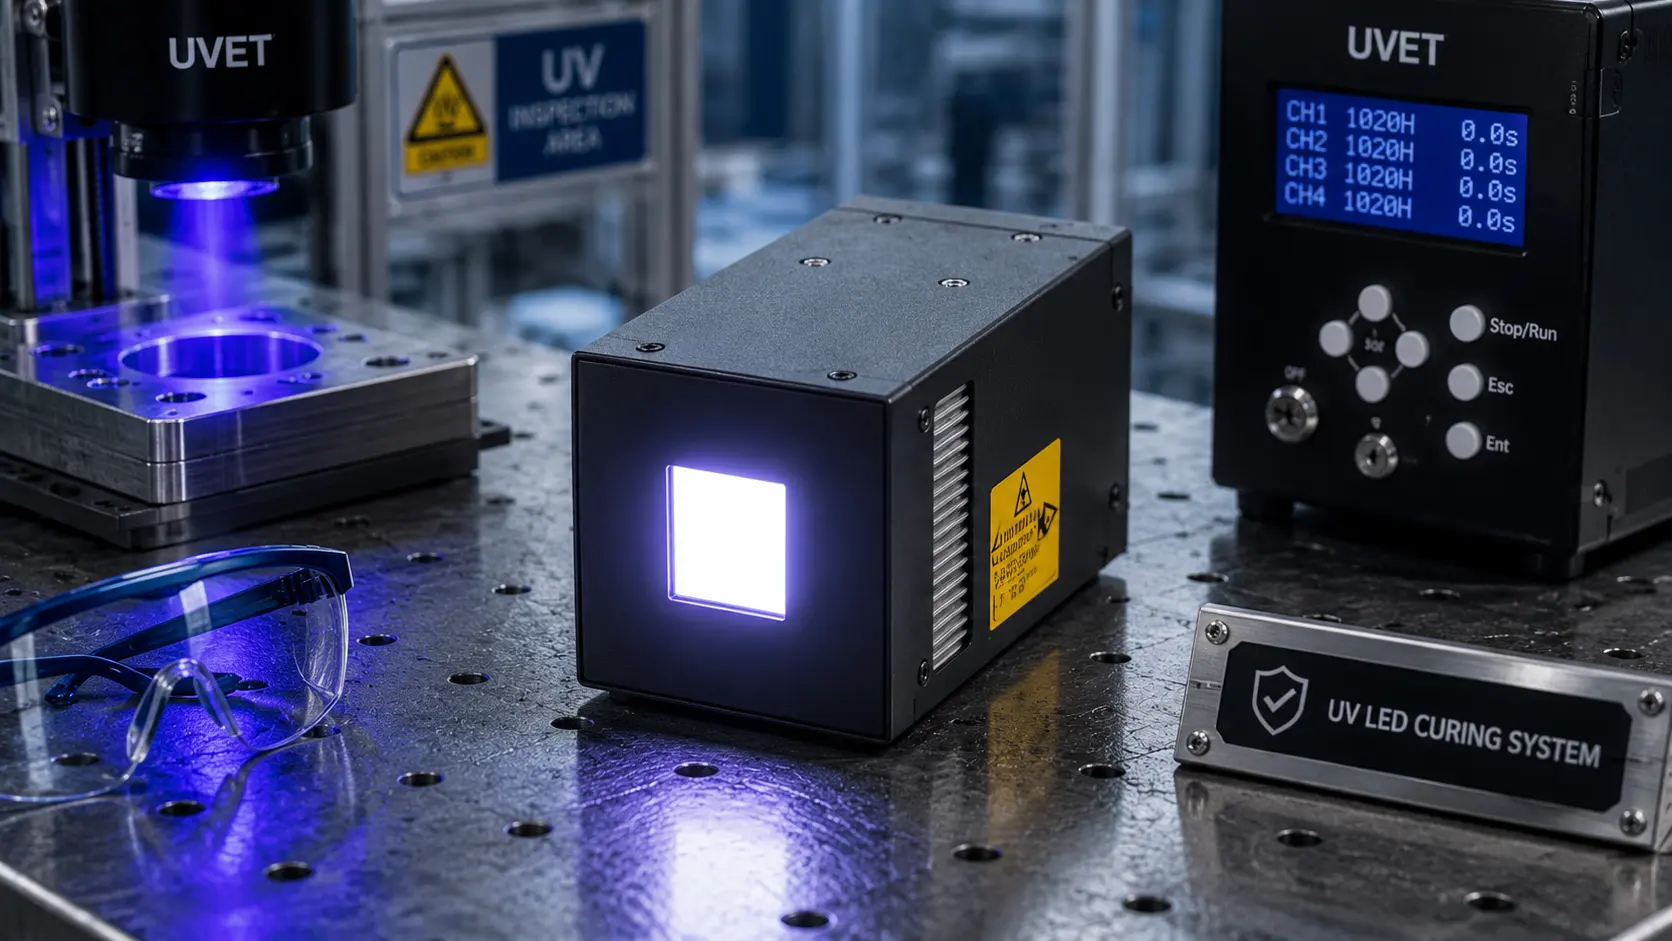
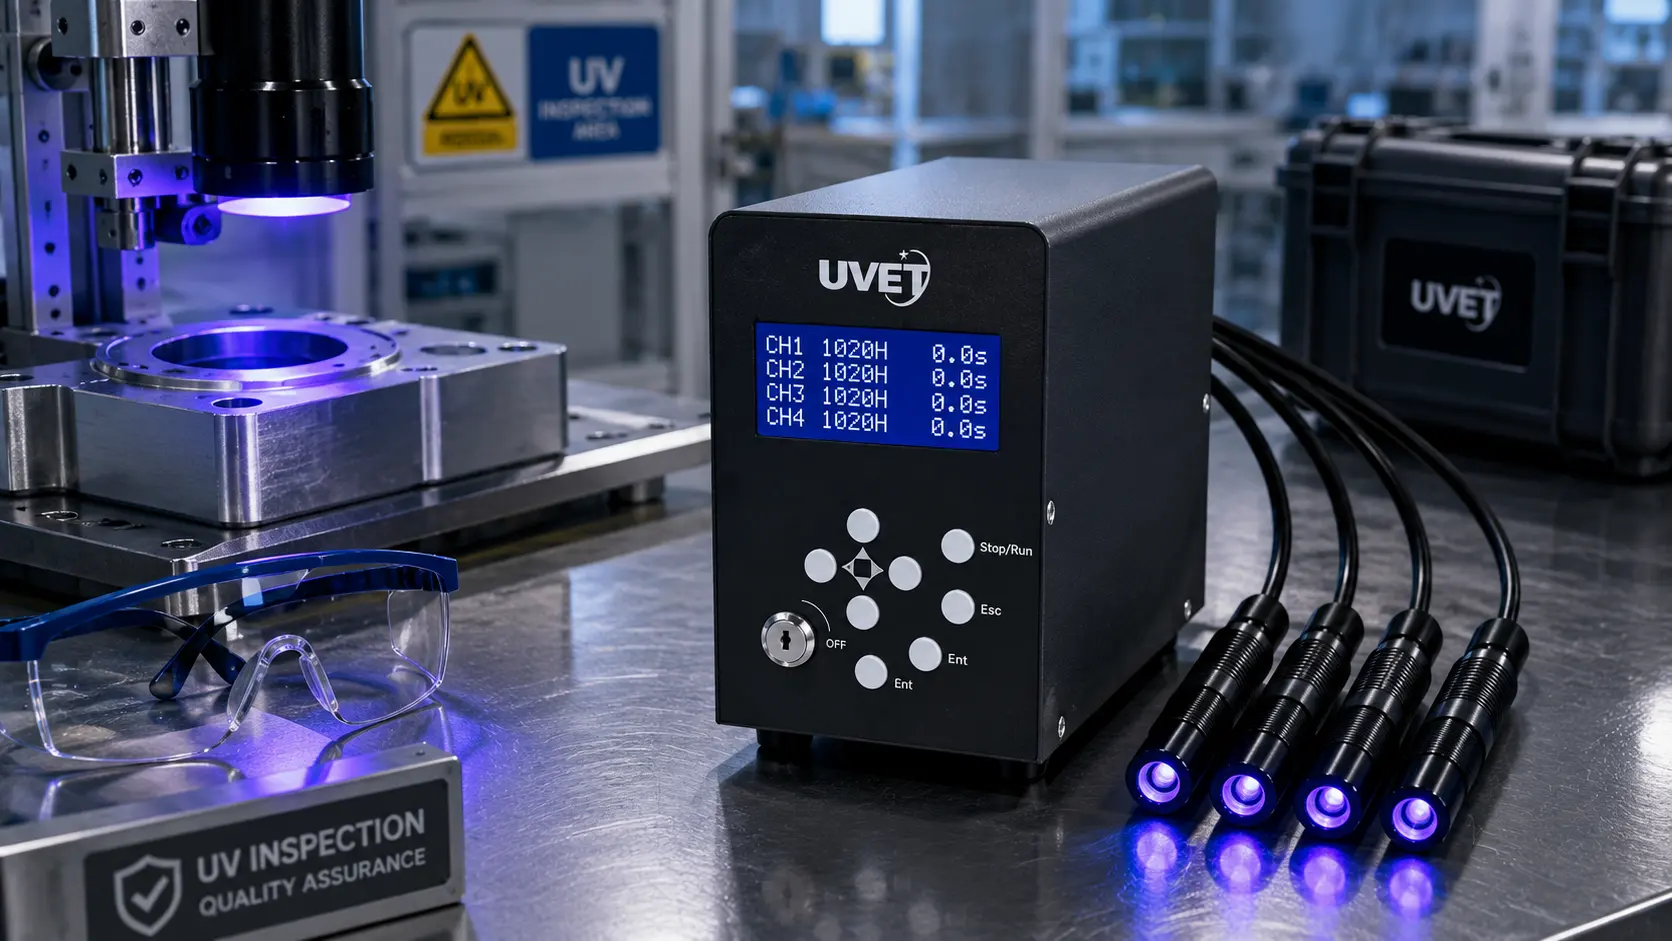
2. Dirty Lamp Windows
This is the most common oversight. UV curing systems are often located near print heads where ink mist accumulates. A thin layer of cured ink mist on the quartz window can reduce UV output by 30-50%.
- The Fix: Inspect the lamp glass daily. If it looks hazy, it is blocking the UV energy required for a full cure.
3. Speed vs. Dose Imbalance
Increasing line speed decreases the "dwell time"—the amount of time the ink is exposed to UV light. If you double the speed, you cut the total energy dose in half.
- The Fix: If you speed up the belt, you must proportionally increase the LED intensity or add more curing modules.
4. Ink Thickness (Opacity)
Heavily pigmented inks (especially Black and White) act as UV blockers. White ink reflects UV light, while black absorbs it before it reaches the bottom layer.
- The Fix: Thicker ink layers require higher energy density (slower speed) to cure all the way through to the substrate.
5. Substrate Incompatibility
Printing on low surface energy materials (like untreated Polypropylene or HDPE) often looks like a curing failure, but it is actually an adhesion failure. The ink cures but doesn't stick.
- The Fix: Perform a dyne test on the material. You may need corona treatment or a primer.
The "Secret Weapon": Implementing UV Pinning
If your ink is bleeding or smearing before it even reaches the final curing lamp, you need "pinning."
Pinning involves using a low-intensity UV LED source (usually immediately after the print head) to "freeze" the ink droplet in place. It doesn't fully cure the ink, but it increases the viscosity enough to stop the dot from spreading or mixing with other colors.
Benefits of Pinning:
- Sharper Text: Prevents dot gain.
- Color Control: Stops wet-on-wet colors from muddling.
- Reduced Smearing: The ink is semi-solid before it hits the high-power curing station.
- Setup Tip: Set your pinning lamps to 10–20% intensity. If the ink is cracking or peeling later, your pinning might be too strong (over-curing the surface too early).
Optimizing LED Settings for a Smear-Free Cure
To eliminate smearing, you must optimize the geometry and power of your setup. Even the best UV LED curing lamp for inkjet printing will fail if positioned incorrectly.
1. Minimize the Gap (Working Distance)
UV light intensity follows the Inverse Square Law. Moving the lamp from 2mm to 10mm away from the substrate can result in a massive loss of peak irradiance.
- Target Distance: Maintain a gap of 2mm to 5mm between the LED emitting window and the substrate for maximum impact.
2. Tune Irradiance vs. Energy Density
- To fix sticky surfaces (tack): Increase the Intensity (%) on your controller. You need high peak power to overcome oxygen inhibition.
- To fix rub-off (adhesion): Decrease Line Speed. This increases the total energy dose (exposure time) without changing the intensity.
3. Thermal Management
Overheated LEDs lose efficiency. If your curing unit is running hot (>40°C on the housing), the UV output drops, leading to inconsistent curing during long shifts. Ensure water chillers or air fans are functioning correctly.
Routine Maintenance to Prevent Future Smearing
A clean machine is a consistent machine. Establish this simple protocol to stop smearing before it starts.
- Daily: Inspect the quartz window of the LED array. Wipe with >99% Isopropyl Alcohol and a lint-free cloth if any mist is visible.
- Weekly: Check the chiller fluid levels (for water-cooled systems) or clean the fan filters (for air-cooled systems).
- Monthly: Perform a radiometer check. Measure the actual UV output at the belt level to ensure LEDs haven't degraded.
Common Mistake: Do not use standard glass cleaners or solvents with moisturizing additives on the quartz window; they leave a residue that blocks UV light.
FAQ: Troubleshooting Sticky UV Prints
Why is my UV print sticky after curing?
Sticky prints are usually caused by "oxygen inhibition," where air blocks the surface cure. Increase your LED peak irradiance (power) or decrease the distance between the lamp and the substrate to fix this.
How do I test if UV ink is fully cured?
Perform the "thumb twist" test (press and twist your thumb on the print) or the ASTM D3359 cross-hatch tape test. If ink transfers to your skin or the tape, it is under-cured.
Can you over-cure UV ink?
Yes. Over-curing can make the ink brittle, causing it to crack or flake off when the material bends. It can also cause the substrate to warp from excess heat.
What is the best wavelength for UV LED curing?
Most standard inkjet applications use 395nm for deep curing. However, 365nm is often better for surface curing and clear coats. Check your ink manufacturer's datasheet for the required wavelength.
Does humidity affect UV curing?
High humidity generally does not affect the UV curing reaction itself, but it can affect the substrate's surface tension, leading to poor adhesion or wetting issues.
How close should the UV lamp be to the paper?
Ideally, the lamp should be 2mm to 5mm from the substrate. Every millimeter of extra distance significantly reduces the peak irradiance reaching the ink.
Why is my black UV ink not curing?
Black ink absorbs UV light, preventing it from penetrating to the bottom of the layer. You may need to reduce print speed (increase dose) or lower the ink density/opacity setting.
Conclusion
Smearing is a symptom of an unbalanced process, not necessarily a broken printer. By ensuring your LED lamps are clean, positioned close to the substrate, and set to the correct intensity to overcome oxygen inhibition, you can achieve a durable, dry-to-the-touch finish every time.
If you are struggling to find the right balance between speed and cure quality, or need to upgrade your current curing modules, contact the engineering team at UVET for a system evaluation.


