UV LED Curing Troubleshooting for Inkjet: Common Fixes
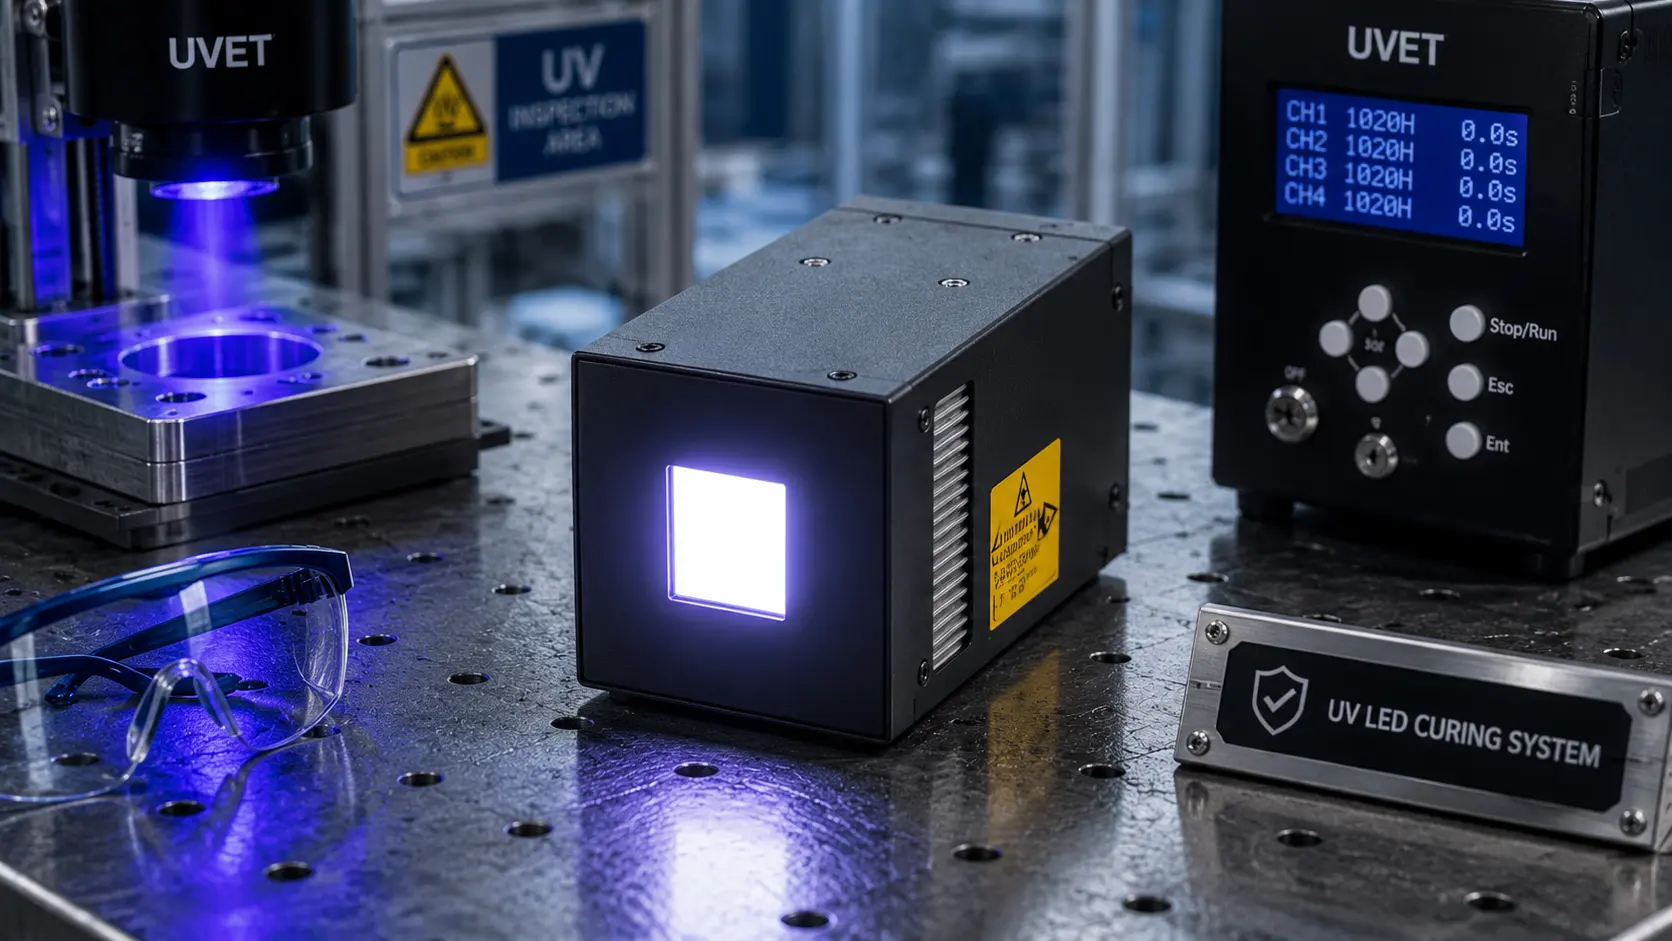
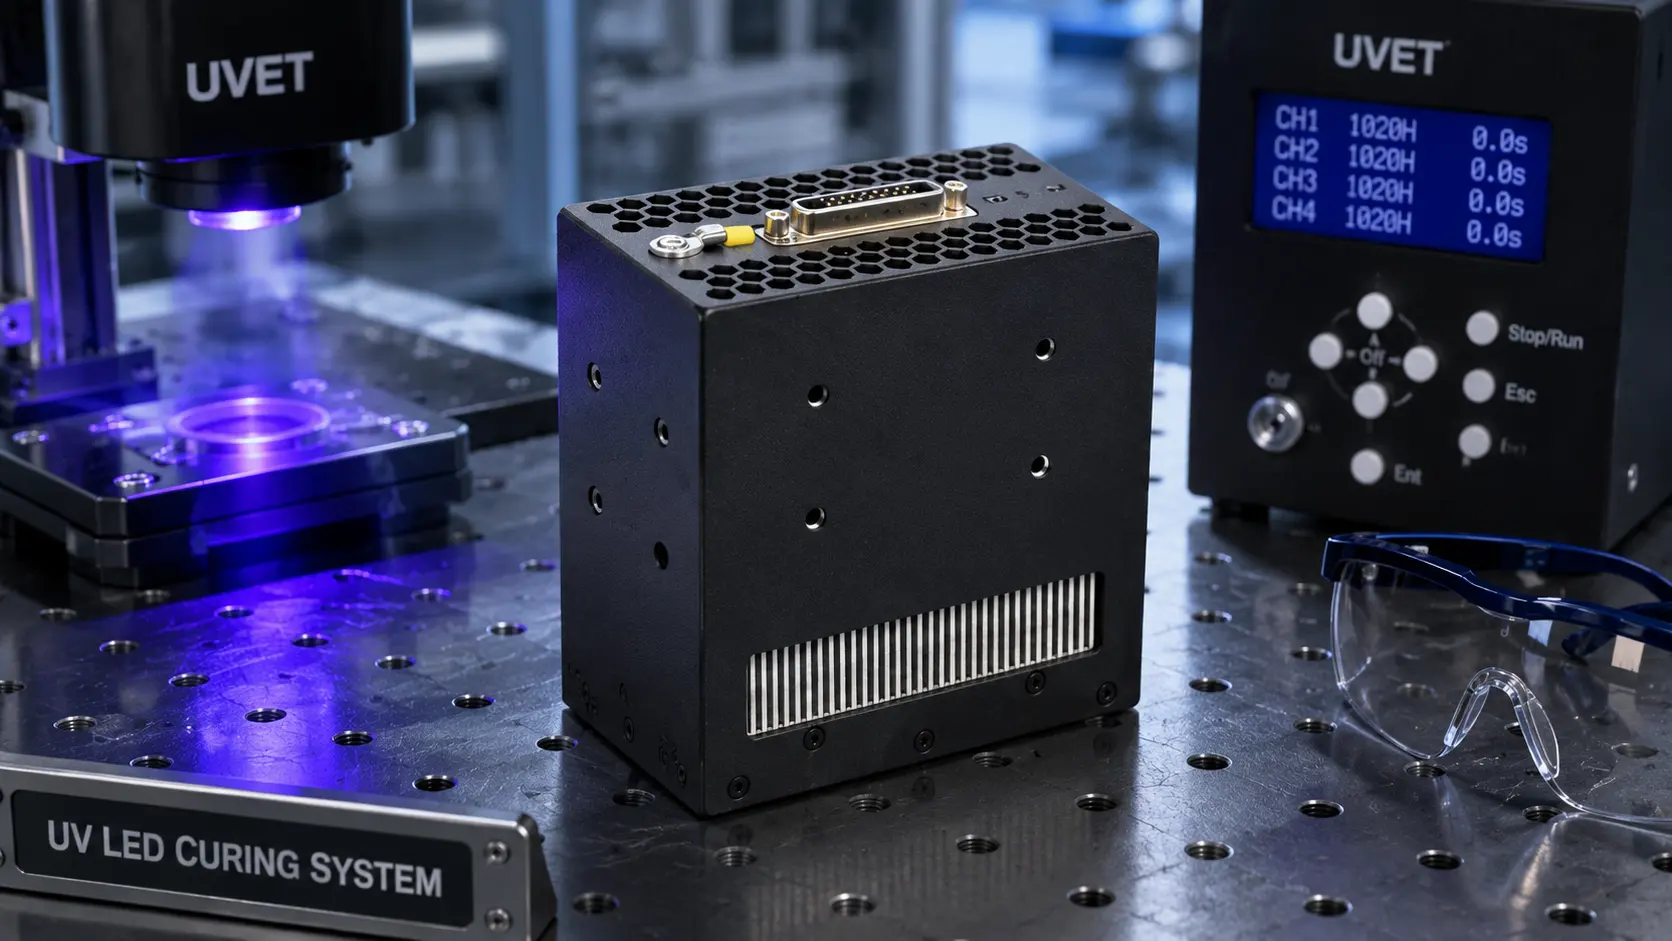
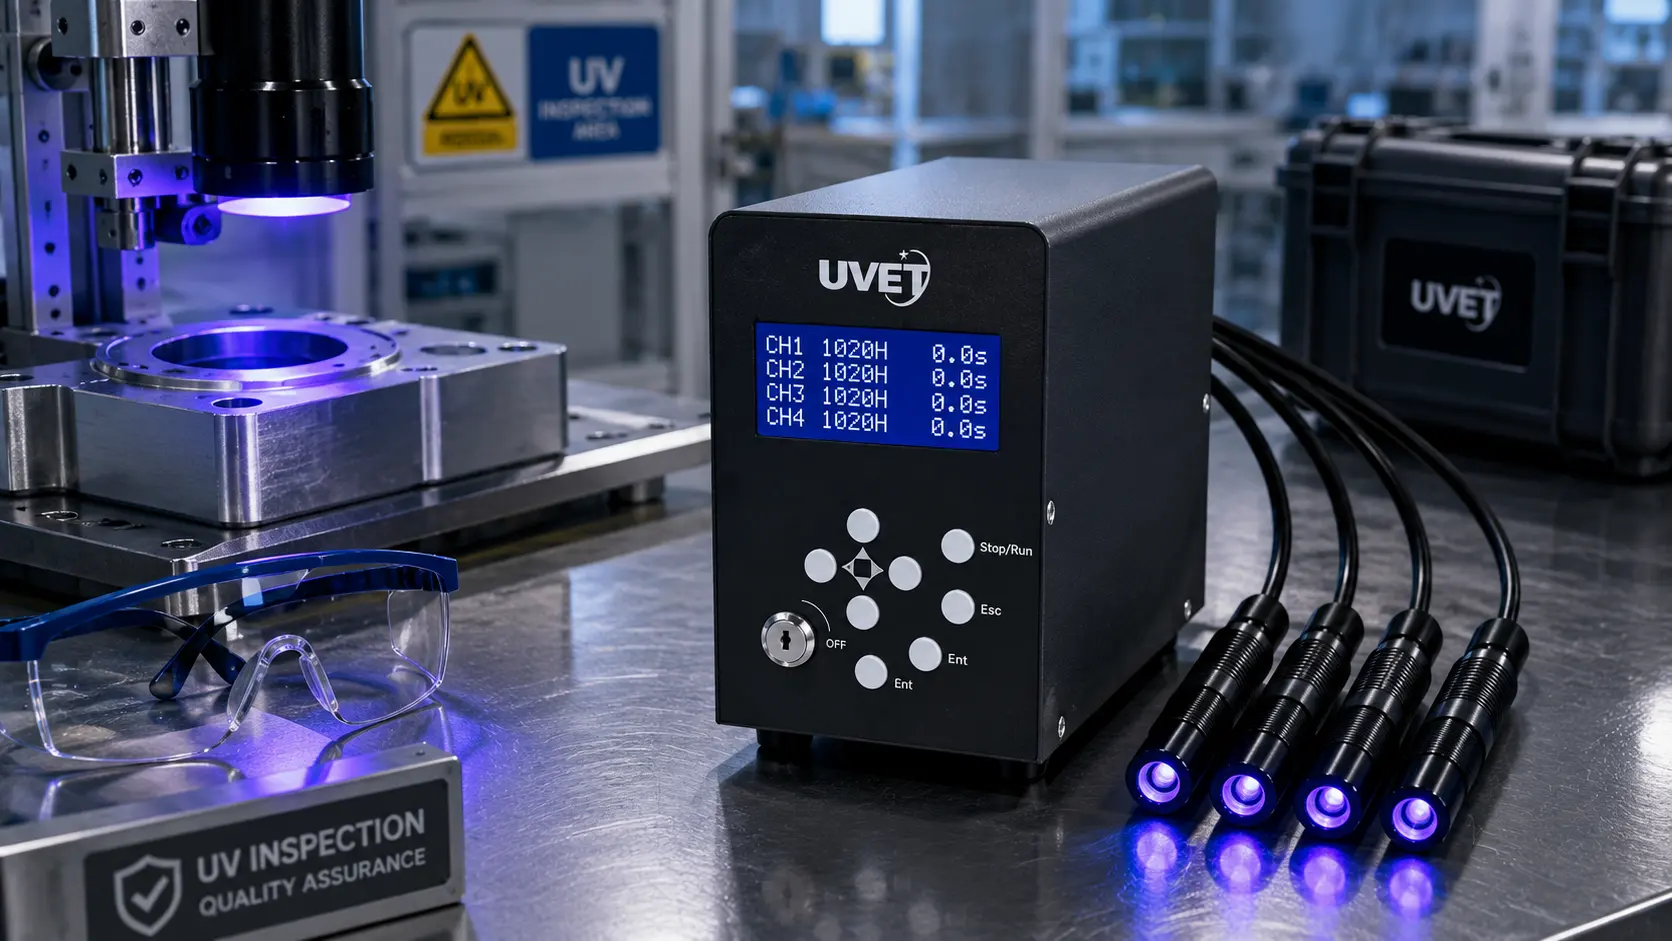
Troubleshooting UV LED curing for inkjet printing primarily involves optimizing the balance between UV irradiance (light intensity) and dosage (exposure time). If your ink is not drying or adhering correctly, the most common fixes include increasing the LED power output, slowing down the conveyor or carriage speed to increase dwell time, and ensuring your LED wavelength (typically 395nm or 385nm) matches the photoinitiators in your specific ink set. Regular maintenance, such as cleaning quartz glass windows on the lamp heads to remove ink mist, is also critical for maintaining consistent curing energy.
Common UV Inkjet Curing Defects and Their Causes
Before adjusting machine settings, it is vital to identify exactly how the cure is failing. Curing issues generally manifest in two ways: surface tackiness (under-curing) or poor adhesion (delamination).
Understanding the science behind the process helps in diagnosing the root cause. For a deeper dive into the chemical reaction, you can read How UV LED Curing Works in Inkjet Printing.
Surface Tackiness (The "Wet" Feel)
If the print feels sticky or smears when touched immediately after printing, the ink has not fully polymerized. This is often an issue of oxygen inhibition, where oxygen in the air blocks the curing reaction at the surface layer.
- Fix: Increase the UV peak irradiance (intensity).
- Fix: Check if the LED lamp height is too far from the substrate; intensity drops significantly with distance.
Through-Cure Failure (Adhesion Issues)
If the surface is dry but the ink peels off or scratches easily, the UV light hasn't penetrated to the bottom of the ink layer. This is a "through-cure" failure.
- Fix: Lower the print speed to increase the total UV dosage (energy density).
- Fix: Verify you are using the correct wavelength for your ink's depth curing needs.
For a complete guide on mastering the basics, check our overview on UV LED Ink Curing.
Why is my UV ink smearing or remaining tacky?

If your UV ink is smearing, it usually means the lamps are not delivering enough energy to overcome oxygen inhibition at the surface, or the print speed is too fast.
To fix smearing, first clean the UV LED lamp window. Ink mist (a common byproduct of inkjet printing) can accumulate on the quartz window, blocking up to 20-30% of the UV energy. If the glass is clean, increase the LED power setting to 100%. If smearing persists, you may need to slow down the carriage speed.
Smearing can also occur if the ink layer is too thick. Rich blacks and dense colors block UV light from penetrating. You can learn more detailed strategies in our guide: How to Prevent UV Ink Smearing with Proper LED Curing.
How do I fix poor ink adhesion on difficult substrates?
Poor adhesion is often mistaken for poor curing, but it is frequently a surface tension issue. If the substrate's surface energy (dyne level) is lower than the ink's surface tension, the ink will not bond, regardless of how much UV light you blast it with.
Steps to improve adhesion:
- Clean the substrate: Remove oils or dust with isopropyl alcohol.
- Pre-treatment: Use a primer or flame treatment to raise the surface energy.
- Adjust Curing Delay: Sometimes, allowing the ink to "wet out" (flow) for a fraction of a second before curing can improve the bond.
For specific machine settings that help the ink bite into the material, read How to Improve UV Ink Adhesion with LED Curing Settings.
Hardware Considerations: Wavelengths and Lamp Choice

Not all UV LED lamps are compatible with all inks. The most critical hardware factor is wavelength matching.
Wavelength Mismatch
UV LED lamps emit narrow bands of light, typically peaking at 365nm, 385nm, or 395nm. If your ink is formulated to react to 395nm but you are using a 365nm lamp, the photoinitiators may not trigger efficiently.
- 395nm: The industry standard for curing general inkjet inks; provides good through-curing.
- 365nm: Better for surface curing and overcoming oxygen inhibition, often used in varnish.
If you are unsure which specification matches your production needs, review What Wavelength Is Best for UV Ink Curing?.
Lamp Intensity and Degradation
While LEDs last longer than mercury lamps, they can degrade or overheat. If your cooling system (air or water) is failing, the LED chip junction temperature will rise, causing UV output to drop. If you suspect your hardware is the bottleneck, check our analysis on What UV LED Curing Lamp Is Best for Inkjet Printing?.
Troubleshooting Matrix: Defect vs. Solution
Use this table to quickly diagnose your print issues.
| Symptom | Probable Cause | Recommended Fix |
| Ink is tacky/wet | Low Irradiance or Oxygen Inhibition | Increase Lamp Power; Clean Lamp Window. |
| Ink flakes off | Poor Adhesion/Through-Cure | Slow Print Speed; Check Surface Tension. |
| Banding in cure | Clogged Nozzles or Uneven UV | Perform Nozzle Check; Check for dead LED chips. |
| Substrate warping | Excessive Heat | Reduce UV Power; Check Cooling System. |
Frequently Asked Questions
Can print speed affect UV curing?
Yes, absolutely. Print speed determines the "dose" or the total amount of energy the ink receives. Moving the substrate too fast reduces the exposure time, which can lead to under-curing. Slowing down the line speed is the easiest way to increase UV dose.
How do I know if my UV lamp is working properly?
You cannot judge UV output with the naked eye. You should use a radiometer (a UV light meter) specifically calibrated for LED wavelengths to measure the irradiance ($W/cm^2$) and energy density ($J/cm^2$). A drop in these readings indicates a need for maintenance.
Why is my white ink not curing while colors are fine?
White ink contains Titanium Dioxide ($TiO_2$), a heavy pigment that reflects and scatters UV light. It is notoriously difficult to cure because the light struggles to penetrate the opaque layer. You generally need higher energy or slower speeds for white ink compared to CMYK.
Is UV LED curing safe?
UV LED curing is safer than mercury arc curing because it produces no ozone and eliminates the risk of mercury spills. However, direct exposure to UV light is harmful to skin and eyes. Always wear UV-blocking safety glasses and cover exposed skin when operating or troubleshooting the equipment.
Key Takeaways
- Cleanliness is King: A dirty quartz window on your LED lamp is the #1 cause of sudden curing issues.
- Know Your Ink: Ensure your LED wavelength (e.g., 395nm) matches your ink formulation.
- Dose vs. Irradiance: Increase power (irradiance) to fix surface tackiness; decrease speed (increase dose) to fix adhesion/peeling.
- Manage Heat: While "cool," UV LEDs still generate heat; ensure your cooling system is functioning to prevent power drop-off.
Conclusion
Troubleshooting UV LED curing for inkjet doesn't have to be a guessing game. By systematically checking your irradiance levels, print speeds, and substrate conditions, you can eliminate smearing and flaking issues. Start by cleaning your lamp heads and verifying your ink compatibility, then adjust your energy settings to find the sweet spot for your specific material.
Share on Social:


